What you find on this page:
Whether you have no water pressure for your morning shower or you’ve noticed your well pump is constantly cycling, it might be time for a new well pressure switch. If you’re a handyman, this article is for you.
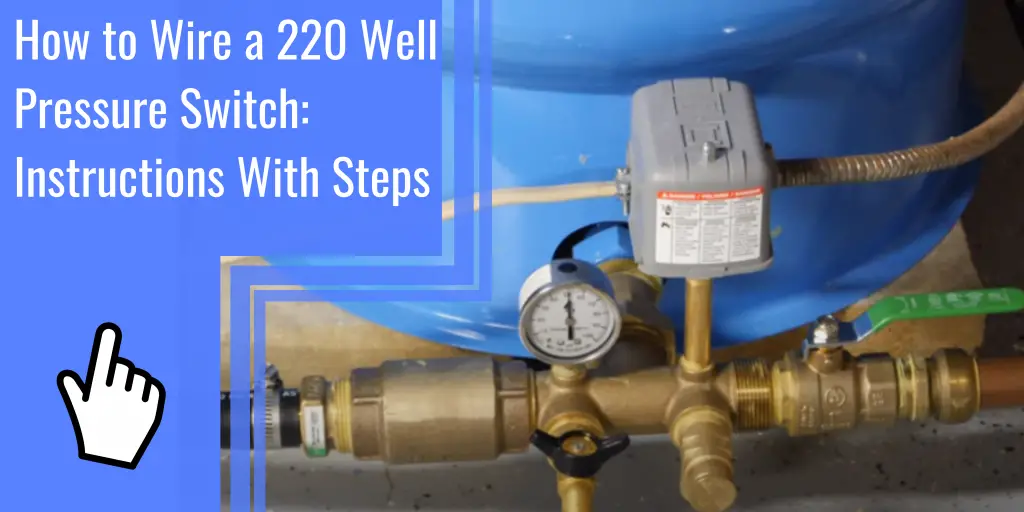
Here we’ll cover how to wire a 220 well pressure switch in a few easy steps.
Why Should I Replace a Pressure Switch?
Over time, a well pressure switch may eventually corrode or fail. A bad pressure switch could cause you to have no water pressure or too much pressure in your home. It could also cause your pump to cycle constantly and waste electricity.
If you’ve noticed corrosion on the switch, it might also be a good time to replace it as well.
A malfunctioning pressure switch could also cause your well not to pump water at all, which could cause emergencies in your home.
When Do I Have to Replace a Pressure Switch?
Most pressure switches will last for years without needing replacing. Of course, problems can happen and many well pressure switches corrode or malfunction in less than a year. Some homeowners will replace the switch every year to stay ahead of any problems with their well.
During your yearly well inspection, the inspector should always check your well pressure switch and advise you if it needs to be replaced or not.
Can you Run a Well Pump Without a Pressure Switch?
While you can technically run a well pump without having to wire a well pressure switch, it’s not a good idea. The pressure switch is a safety mechanism that will keep your well pump running smoothly. Without a pressure switch, you’ll run the risk of burning out your pump. You’re also wasting plenty of water and electricity if you don’t have a well pump with a pressure switch.
We don’t advise running a well pump without a pressure switch. Some exemptions to the rule are below.
- Well pumps designed for irrigation may not need pressure settings.
- Wells that have a relief valve that can vent excess backflow may not require wiring a pressure switch.
- If there is a fire and you need immediate access to as much water as possible on your property.
What Tools Are Necessary for 220v Well Pump Wiring?
Even if you don’t have a garage filled with tools, most homeowners can easily install a well pressure switch.
Essential tools include screwdrivers, wire strippers, pliers, electrical tape, and crimpers.
Don’t forget safety when installing the switch. A voltage meter or multimeter is required to test the wiring before performing any repairs. Eye protection and gloves can also make the project safer.
A permanent marker, forked connectors, and wire nuts will make the job quick and easy.
How to Wire a Pressure Switch: Step by Step
While installing a new switch is easy, it does require you to work with electrical wiring. If you are uncomfortable working with wiring, it may be a good idea to have a professional electrician install the new well pressure switch for you. It’s usually a quick and affordable repair to have performed.
Now that you know more about 220 well pressure switches, it’s time to learn how to wire and install a new one.
Turn the Power Off
The first step for any electrical repairs and maintenance in your home should be to turn the power off. Working on live wires around plumbing can be an extremely dangerous safety hazard. You need to ensure no wiring is live before attempting any repairs.
Forgetting to turn off the power to the pump could also cause the pump to pump water nonstop and cause flooding in your home.
Go to the circuit breaker in your home and switch off the breaker to the well pump.
Test to Make Sure That the Power Is Off
Even if you are positive the correct circuit is cut off, it’s still a good idea to test the wiring to ensure the electricity is off. The easiest way to test is to use a multimeter, VOM, or voltage detector to test the circuit.
Now that power to the pump is off, it’s time to locate the switch box and begin the repairs.
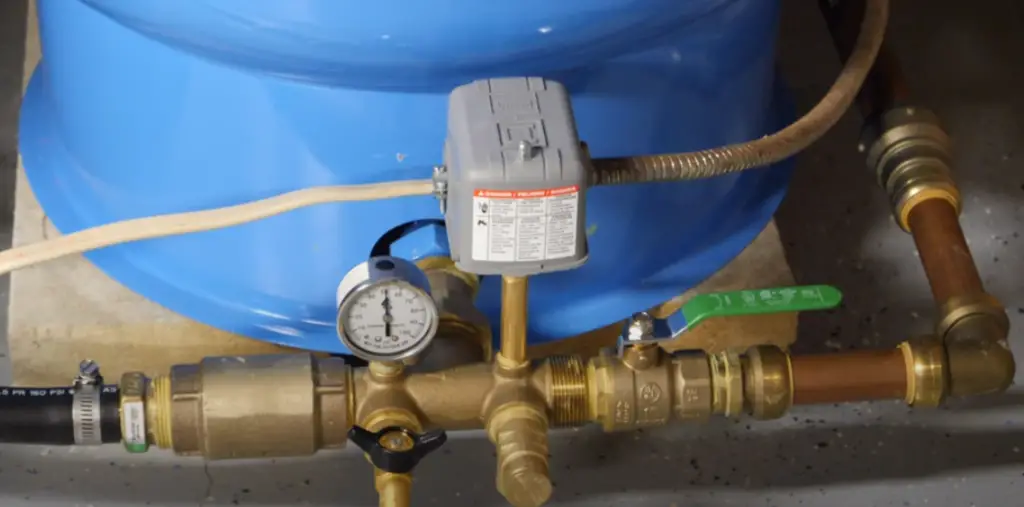
Locate the Switch Box
If you don’t know where the switch box on your water pump is, don’t worry. Switch boxes come in 2-wire and 3-wire configurations, and you can find them inside or outside the pump.
- 2-wire machines have the switch box inside the bottom of the pump.
- 3-wire machines usually have the switch box installed outside the pump.
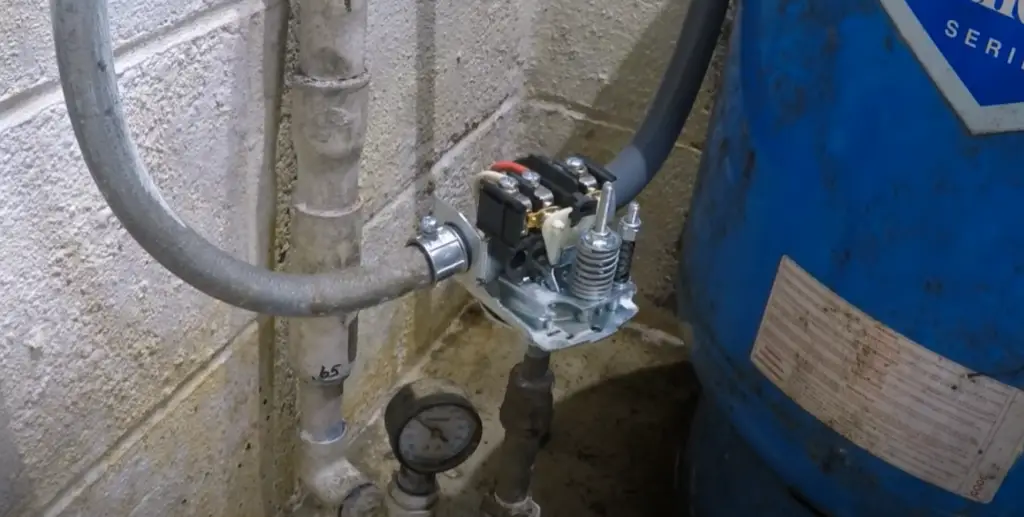
Open the Switch Box
To open the switch box, simply use the flathead screwdriver to remove the screws and open the case.
Secure the Wire Connection
Now it’s time to wire the new 220 well pressure switch.
First, you’ll need to disconnect the original electrical wiring from the device. We suggest taking a photo of the wiring before disconnecting anything. This will work as your own pressure switch diagram and make it much easier to reconnect the wires during the installation.
Labeling the wires is also a good idea and can make any future repairs simple as well. Mark each wire and terminal when you disconnect the wires.
Next, you’ll need to remove water pressure from the water tank. You can simply go to a nearby faucet and let it run for a few seconds to relieve the pressure in the tank.
Now that the tank is partially or fully empty, you can safely unscrew the old parts and prepare to replace the good pressure switch. You may get a little wet during the transition but you can easily block any leaking water with your finger during the repairs.
If you took a photo of the wiring and labeled the connections, connecting the new well pressure switch should take a few minutes. (If you haven’t, you can search a 220v well pump pressure switch wiring diagram on the internet. Make sure you understand the diagram and that it applies to what you’re looking for, though.)
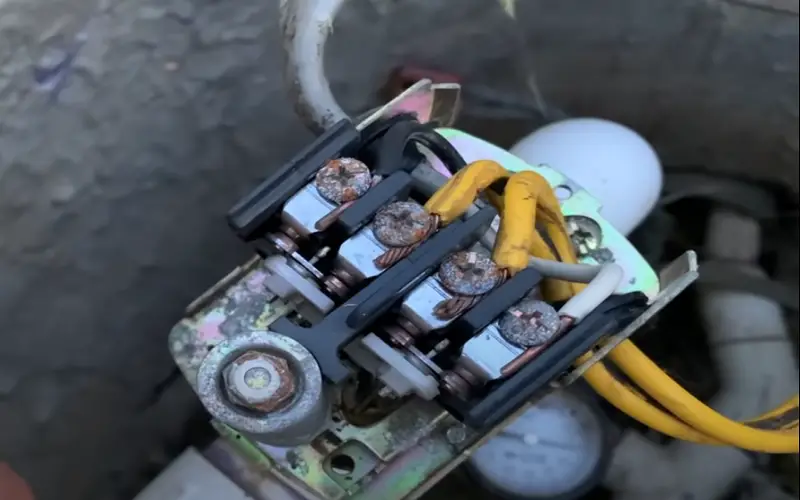
Now it’s time to secure the wire connection. Here’s what to look for during the installation.
- There should be four electrical wires.
- Two line-in wires go from your power source to two screws marked “line” on the switch.
- Two line-out wires connect to power on the water pump.
- Be sure to connect “hot” and “neutral” wires to the correct spots.
Don’t forget to use crimpers, wire nuts, or wire connectors to ensure you have a safe and secure wire connection.
Close the Switch Box
Now that the pressure switch is installed, you can safely close the switch box and replace the cover. Use the flathead screwdriver to fasten the cover securely over the switch box.
Don’t forget to turn off any faucets you turned on in the previous step before reconnecting and activating your pump.
Once the faucets are off, you can return to your circuit breaker and send electricity to your pump.
Congratulations, you’ve successfully installed and wired a 220 well pressure switch.
Conclusion
Well pressure switch wiring is a simple repair that many homeowners can accomplish on their own. You need a few tools to wire the switch successfully, and the repairs take only minutes. Of course, working with electrical wiring can be extremely dangerous, and if you are not comfortable with the dangers, we suggest hiring a professional electrician to handle the wiring.
FAQ
Do you still have questions about 220 well pump wiring? Here are some of the most common questions we’ve been asked about well pressure switches.
Why Does My Well Pump Have 3 Wires?
Three-wire pumps will have black, red, yellow, and green wire. Black is ground and does not count as one of the 3 wires. The other 3 wires are normally in a control box mounted outside the pump. As such, the 3-wire system is more affordable to repair than a two-wire system.
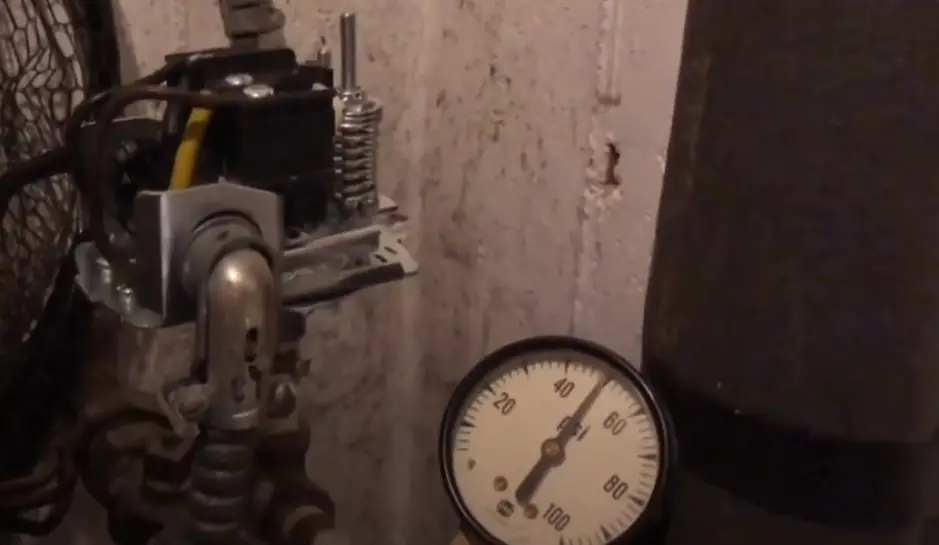
What Pressure Should My Well Tank Be Set At?
Most pressure switches should be set at 2 psi below the cut-on point. Most tanks are set at 30/50. So, you should set your switch at a pressure of 28 psi.
Why Does My Well Pump Keep Tripping the Breaker?
If your well pump keeps tripping your circuit breaker, you may have a more serious issue with your well or pump. Some of the most common reasons for a breaker tripping include leaking from the pump, an overloaded pump, failed seals, or a clogged impeller. We encourage you to contact a professional if your pump is constantly tripping the breaker.
How Often Should I Replace My Well Pressure Switch?
While a pump pressure switch can last for years, many homeowners opt to have their pressure switch replaced every year during their well inspection. This ensures your switch is always in optimal condition, and there will be little chance of it failing.
How Do I Reset a Well Pump Pressure Switch?
The switch will have Auto/Start/Off positions. You’ll need to hold the switch in the start position until it reads 40 psi. You can then let the switch fall to the auto position. Your pump should then run and cut off once it reaches between 50 and 60 psi.