What you find on this page:
Is your fan remote not working? Are you having trouble with your ceiling fan remote?
This guide helps you with ceiling fan remote not working troubleshooting so you can get your fan working again.
Ceiling Fan Remote Troubleshooting
Not all brands work the same, but the tips here generally apply to the following situations with specific brands:
- Craftmade ceiling fan remote not working troubleshooting
- Hunter ceiling fan remote not working troubleshooting
- Hampton Bay ceiling fan remote not working troubleshooting
- Harbor Breeze ceiling fan remote not working troubleshooting
1. Is the Ceiling Fan Remote in Range?
The first thing to check is whether or not the ceiling fan remote is in range. Like TV remotes, if the remote is angled away from the fan or not close enough, it won’t function. Each ceiling fan remote contains a transmitter, sending a signal to the receiver in the ceiling fan.
But if the transmitter is far away from the receiver, it cannot communicate. Try to use the remote within ten feet of the fan and ensure there is nothing between the remote and the fan, such as a wall or curtain.

2. Does the Ceiling Fan Remote Have Batteries?
Some people don’t realize that their new ceiling fan and ceiling fan remote did not come up with batteries! If your items are new, double-check that there are batteries in the remote. Ensure there are no factory tabs you need to remove.
Check that the batteries are all in the correct position according to the labels on the remote’s battery port. Lastly, change the batteries out for fresh ones. One of the most common reasons for remote-control ceiling fan lights not working is simply dead batteries!
3. Is the Ceiling Fan on the Correct Frequency?
The remote’s transmitter and the fan’s receiver must communicate at the same frequency.
To change the frequency, you’ll need to access the dual in-line package located on your ceiling fan. If the ceiling fan and light are not working after installing remote receiver troubleshooting, adjust the frequency on the fan.
Turn off the power to the fan, detach the fan’s canopy, and use a small screwdriver to slide the four dual in-line packaging switches to a new frequency. Reassemble the fan, restore power, and test the remote again.

4. Reset Your Devices
When your remote for the ceiling fan is not working, sometimes all you need to do is reset your devices. This is where you ask: how do I reset my ceiling fan remote? Luckily, resetting your remote is easy!
Simply press and hold the OFF switch for ten seconds or longer. Once you do this, the ceiling fan remote should reset automatically. Make sure the ceiling fan is off while you do this.
5. Unpair/Pair Back Your Remote
If the remote ceiling fan not working after the reset, you may need to repair your devices. First, unpair the remote and ceiling fan. The pairing between these devices is similar to Bluetooth but usually simpler. To unpair and then repair your devices, follow the steps below:
- Turn your fan off using the wall switch and count to 20.
- After counting, turn the fan back on with the wall switch.
- Hold the ceiling fan remote near the fan and hold down the “pair” button.
And that’s it! If your remote does not have a pairing button, refer to your user manual for pairing instructions.

6. Check the Electricity
If your ceiling fan beeps but won’t turn on, it likely isn’t a problem with your electricity. But another ceiling fan remote not working troubleshooting trick is to reset your circuit breaker and check your home’s electricity.
Test other lights in your home and in the room where the ceiling fan is to ensure your home has power.
7. Replacing a Ceiling Fan Remote Control
If you attempted all of the ceiling fan remote not working troubleshooting methods discussed above, you may have a faulty remote and need a replacement. Unfortunately, this commonly happens when the remote for the Hunter fan is not working.
To replace the remote, you can contact the manufacturer or visit their website to see if they sell replacement remotes separately. If you can’t find the remote or want a different option, you can find universal ceiling fan remotes that work with almost all ceiling fan brands.
Once you get a new remote, follow the instructions for how to program the ceiling fan remote.
The Ceiling Fan Beeps but Won’t Turn On
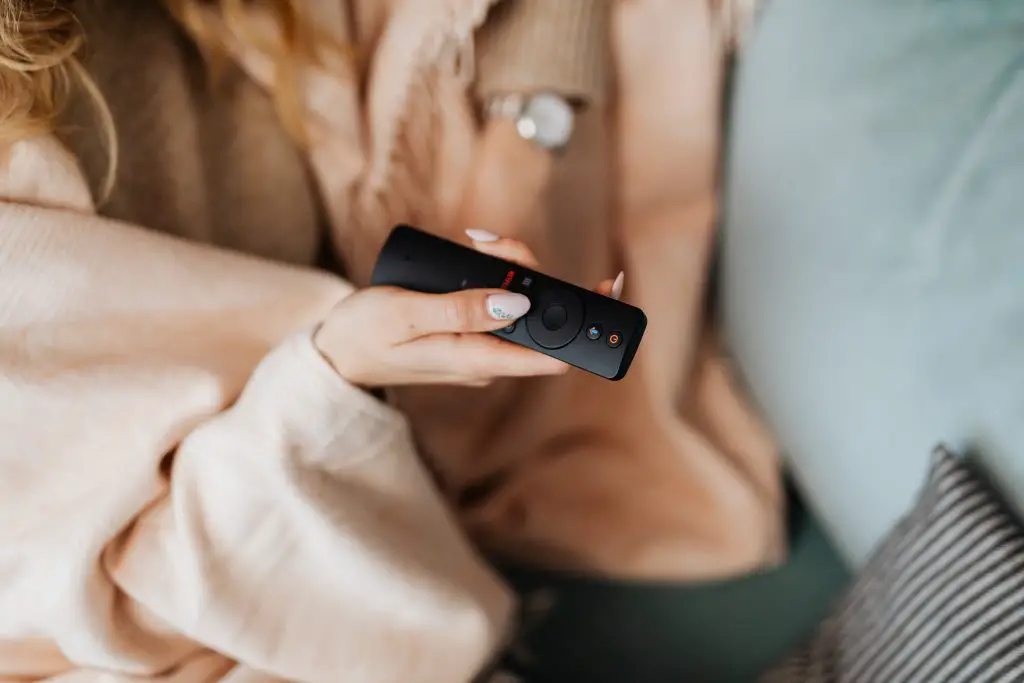
If your ceiling fan beeps but doesn’t turn on when you use the remote, it likely means something is wrong with the transmitter, receiver, or batteries.
When it beeps, it can indicate the batteries are too low for the devices to communicate with one another. Check your batteries and change them in this situation.
The Ceiling Fan and Light Not Working After Installing Remote Receiver Troubleshooting
If your ceiling fan and light are not working after installing the remote receiver, troubleshooting is the same for other situations.
Check all batteries, frequencies, and power sources to ensure the remote and fan are ready for communication and use. If none of these troubleshooting methods work, you may need a new remote.
How to Reset Ceiling Fan Remote – Step by Step Guide
If you’re wondering how do I reprogram my fan light remote, you can find a step-by-step guide below for when the Hunter fan remote is not working, or the Honeywell ceiling fan remote is not working. Methods for a reset can sometimes differ between brands, but these steps generally apply.
1. Change Your Fans Frequency Settings
Check that your ceiling fan’s frequency is the same as your remote’s frequency. The frequency is typically somewhere between 300 and 440 Hz.
You can refer to your fan’s user guide for the exact frequency, but as long as the fan and remote are on the same frequency, they should work.
Adjust the frequency on your fan by standing on a step ladder, removing the fan’s canopy, and adjusting the dual in-line package with the sliding switches. Keep the fan turned off.
2. Reset Ceiling Fan Remote
Next, hold down the power button on your ceiling fan remote for ten or more seconds. Doing this should reset your remote, but if it doesn’t work, you should refer to the user manual for specific reset instructions. However, most brand remotes will reset with this action.
3. Pair the Ceiling Fan With a Remote
The last step for completing this whole reset process is to repair the ceiling fan with the remote. To do this, turn your ceiling fan off using the wall switch for several seconds. After ten to 20 seconds, turn the fan back on and hold down the “pairing” button on your remote.
If there is no pairing button, it’s likely a different combination of buttons to pair. Refer to your user manual for pairing instructions.

How Do I Reprogram My Fan Light Remote?
When the Hunter ceiling fan light is not working with the remote, it often requires a quick reprogramming to remedy it. Reprogramming is the same as resetting, so that you can refer to the tips and steps detailed above. A full reprogram means you change the frequency and perform a reset.
Conclusion
The good news is even when your remote doesn’t function, the fan should still work using the wall switch.
But ceiling fan remotes are super convenient, so give these troubleshooting tips a try before you run out and buy a new remote.
Certain brands make finicky remotes, so buying a well-reviewed universal remote can make using your fan much easier.
FAQs
While changing the batteries is an easy and convenient fix, it won’t work if your ceiling fan and remote have other issues.
For example, new batteries won’t solve the problem if you need to adjust the frequency of your devices. New batteries will also do nothing if your fan and remote are not properly paired.
Yes, practically every ceiling fan’s remote can be bypassed. All you need to do is use the wall switch instead of the remote. It can also help functionality if you remove the batteries from the remote you no longer want to use.
The DIP (dual in-line packaging) switch is under the canopy. It’s four tiny sliding switches, typically on the bottom or the side of the fan’s base.
If you decide to get a universal ceiling fan remote, pairing them is easy. First, ensure the remote and fan are on the same frequency and within range of each other. Then, press the pairing button on your universal remote, as all universal remotes should have one.
Reconnecting your ceiling fan remote is the same as repairing it. You’ll need to turn the fan off and hold the pairing button on the remote unless your fan’s pairing instructions are different.

