What you find on this page:
Vacuuming is tedious and must be done regularly. You have decided to splurge and invest in a Roomba to make your life easier.
Roombas are robotic vacuums that clean your floors. Once you have it set up, you can focus your energy on other things.
Vacuuming will no longer be a worry until you see an error code flashing. Roomba Error 2 clean brushes are standard, so here are a few things you should know about how to clean Roomba brushes.
Why Does My Roomba Display Error 2?
You may see error 2 Roomba when the brushes are not spinning correctly. Dirt and debris will prevent your Roomba from working properly, and it is essential to clean your Roomba regularly.
Why Does Your Roomba Say Clean Brushes?
One of the most common reasons your Roomba will say error two clean brushes is because hair is trapped in the brushes. The hair will stop the brush rollers from spinning correctly, and regular cleaning of your brushes will prevent this.
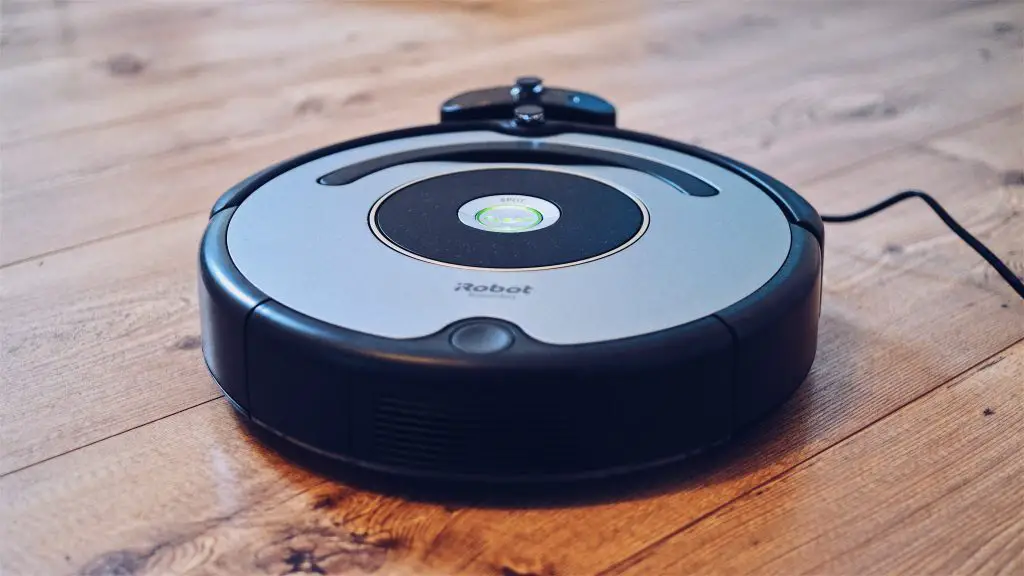
Steps To Fix “Roomba Error 2” In Seconds
Sometimes the error 2 message can be solved quickly. Here are several things you can do to get your Roomba moving again.
1. Clean the Roomba’s Brushes
The older models of Roombas, such as the 400, 500, 600, and 700 series, have brush rollers made of bristles. Hair often gets caught in these types of Roombas.
The newer models of Roomba, such as the 800, 900, i, and S series, have rubber brush rollers. For example, you will see the Roomba i7 clean the brushes. These brush rollers are much easier to clean, and hair does not get caught as quickly as the older versions.
If you are cleaning an older model Roomba, flip it over on a towel. You will see two cylindrical brushes. One has bristles, while the other has rubber flaps. These brushes are held by a guard that you can easily remove by pulling on the colored lever. Once you have removed the frame, you can slip the brushes out.
It is best to use the Roomba cleaning tool with your Roomba. It is specifically designed to clean your brushes and rub the device across them in a continuous motion.
You should pay particular attention to the ends of the brushes and be sure to clean any hair that is trapped there. Also, clean out any dust that is accumulating on the inside of your robotic vacuum.
When everything is clean and dust-free, put everything back together. First, the guard must be snapped back into place.
The newer models of Roomba are much easier to clean. Flip your Roomba over on a towel. You will release the brush frame by pushing the tab on the right. When it opens, you can remove the brushes. Remove any hair, debris, or dirt that you find on the ends of the brushes.
You will need to remove and clean the gray brush bearings. Hair tends to accumulate around the bearings. When clean, put the bearings back in place and return the brushes to the Roomba. Press the tab again to snap everything back into place.
2. Put Some Oil on the Brushes’ Gears
Regular care will ensure the longevity of your Roomba. It will take time and effort, but it is better than buying a brand-new Roomba.
It is best to ensure the Roomba gearbox is working correctly. The easiest way to check on the gears is to peek inside the side slot motor while turning the brushes with your hand. If the coils are turning, your gearbox is working.
When you want to clean and oil the gears in your Roomba, remove the six screws that hold the gearbox in place. Remove the cover, and you will see the gears. You can remove the gears and clean them with a small brush and detergent, then apply a light coat of WD-40. The lubrication will help your gears turn smoothly.
Roomba owners should clean and oil the gears every few months. You will find that the gears will be much quieter, and your Roomba will last much longer.
3. Replace the Roomba Brushes
You may decide that replacing the entire brush assembly is the best option. However, the gears and bearings might be too old to work if your Roomba is an older model, and you can start fresh with a new brush assembly.
Turn your Roomba upside down. Remove the back cover. You can remove the brush assembly by unscrewing the four screws holding it in place. Place the new brush assembly in its place and replace the screws.
4. Restart or Reset the Roomba
When you see the Roomba clean brushes message, and you have cleaned everything, you may want to restart or reset your Roomba.
Hold the clean button for twenty seconds to restart the Roomba S and i series. When you let go, the light ring will glow white, and all the information will still be available.
When restarting the Roomba 700, 800, and 900, you must press and hold the clean button for twenty seconds. When you let go, you will hear a chime that will let you know that the restart has been successful.
You can restart the Roomba 500 and 600 by pressing and holding the spot clean and dock button for ten seconds.
You can choose a hard or soft reset for your Roomba, and a soft reset will preserve your information.
For newer models such as the 900, S, and i, press and hold Home, Spot Clean, and Clean simultaneously. For example, if you see a Roomba i3 clean brushes error or a Roomba j7 error 2, you should hold the buttons until a light ring around the Clean button begins to move. When you see the light moving, you can let go.
It is the same process for the Roombas 800 and 600 series, but you will hear a beeping tone alerting you when the reset is complete.
A hard reset will erase all information from your Roomba. You will need the Roomba app to perform the hard reset on your Roomba. Go to your Roomba app, go to Settings, and then go to Factory Reset. Your Roomba will reset.
5. Charge the Battery
Store your Roomba on the docking station so it is always charged. It typically takes about two hours to charge your Roomba. When you have cleaned the brushes and the Roomba is fully charged, your Roomba should work.
Roomba Error 2 but Brushes Are Clean
For example, you may see Roomba 650 error 2, but the brushes are clean, so you should check the gears to ensure that no dirt has gotten inside the gearbox. Clear the debris and restart your Roomba.
Clear Roomba Debris Extractors
You might be seeing a Roomba debris extractor error. The debris extractors are the parts under your Roomba that pick up dirt off the floor. If they become clogged, they cannot work as they should. You will need to clear your Roomba debris extractors. If you have cleaned them and your Roomba keeps saying clean debris extractors, try restarting your Roomba.
You must remove the extractors from your Roomba and clean them thoroughly. You should clean the pegs and under the caps at each end of the extractors and replace them when you are finished cleaning.
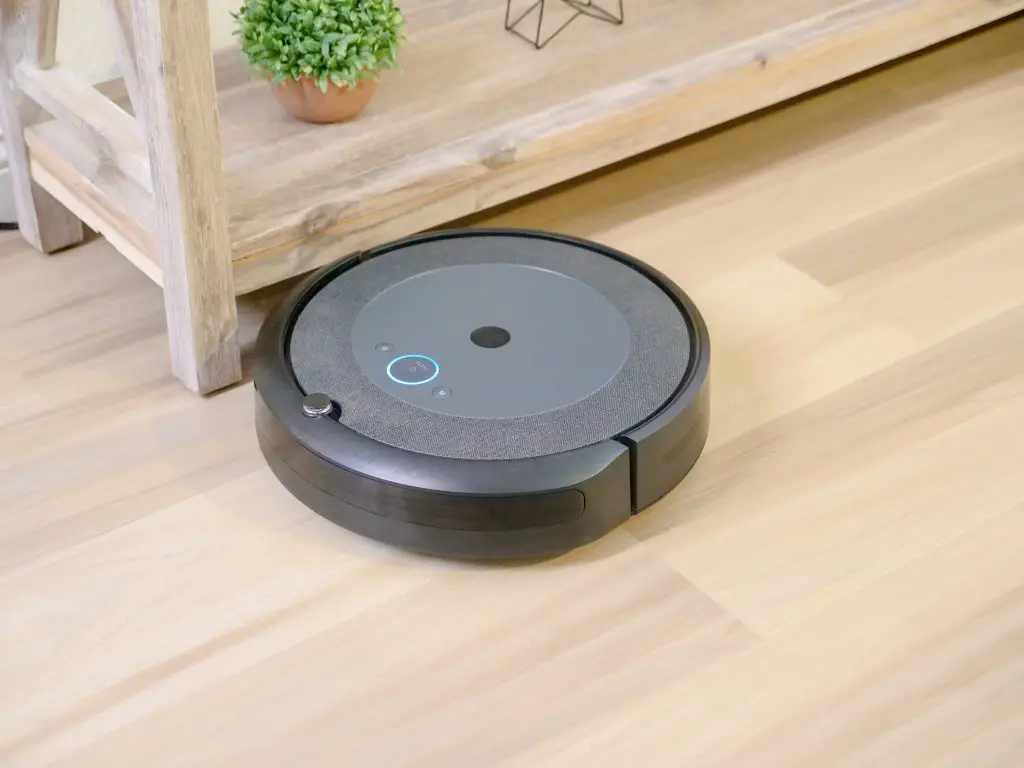
How Do You Clean the Main Roomba Brush Rollers?
You can easily clean the main brush in a Roomba. The first step is to open the brush frame or guard by pushing the tabs on either side. Once you have this opened, you can lift the brush and clean it. You should also clean the bearings while you are at it.
Roomba Error Codes
Roombas are robotic vacuums, so they can tell you when there is a problem. The Roomba error codes are:
- Error 1 – Roomba is stuck
- Error 2 – Extractors can’t turn
- Error 6 – Sensors are dirty
- Error 7 – The side wheel is stuck
- Error 9 – The bumper is stuck.
- Error 10 – The side wheel or bumper is stuck
- Error 11 – No obstacles
- Error 14 – Bad connection
- Error 18 – Cannot return to the docking station
Conclusion
Roombas were designed to make our lives easier and much cleaner. You may encounter some glitches with any technology, but they are easily solved. Error 2 in Roomba 761 with clean brushes only needs regular maintenance to ensure that your robotic vacuum is always there when you need it.
FAQs
When you see the Roomba clean main brushes error code, press the tabs to release the brush frame or guard. Then, lift out the brushes and clean any dirt, debris, or hair that may be stopping the brushes from turning.
Using a dry clean cloth to clean the brush sensor would be best.
When you see a Roomba error code 2 clean brushes, you should clean any hair, dirt, or debris from the brushes. Clean the bearings. Your next step would be to clean the gears. Finally, you can restart your Roomba, and hopefully, the problem has been resolved.
Roombas have one side brush.
The sensor is located in front of the Roomba.
It is recommended that you change your brushes every six to twelve months.

