What you find on this page:
Have you ever gone to print something and received that dreaded flashing Attention symbol on your printer? Have you ever encountered the printer error (59.F0 Turn Off Then Turn On) but are unsure how to fix it?
We have provided you with all the likely reasons and solutions so you can quickly fix this annoying error. We have also provided you with additional tips to ensure your printer will work whenever you need it!
What Is HP Printer Error 59.F0?
The 59.F0 printer error happens when a transfer alienation failure is usually caused by a problem with the Intermediate Transfer Belt (ITB). An ITB is a rotating belt that carries toner particles from each cartridge to the belt, which is then applied to the paper. The process happens quickly but can cause issues ranging from ink quality to ultimately stopping the ability to print.
Typical Intermediate Transfer Belt issues are:
- Debris causing the ITB to cannot rotate
- Ink build-up from a leaky cartridge
- The fuser assembly is broken
- The SR9 sensor is not working properly
Fix HP Printer Error 59.F0
There are many potential fixes for a 59 F0 error. However, we have provided you with the most common issues and methods, so you can quickly fix this error message.
Method 1: Reset The Printer
You can do two different printer resets to fix the 59.F0 error: power-cycle and factory reset.
You can power cycle your HP printer by following the below steps:
- Turn off your printer
- Turn off your computer
- Disconnect the printer power cable
- Turn your computer on
- Reconnect the printer power cable
- Turn the printer on
You can factory reset your HP printer by following the below steps:
- Turn off your printer
- Disconnect the power cable for 30-seconds and then reconnect
- Hold the Resume button and then turn on the printer. Continue to hold the Resume button until the flashing Attention light (yellow triangle with an exclamation point) turns on.
- After releasing the Resume button, both the Attention and Ready lights flash. This means your printer is now factory resetting.
Method 2: Reset The ITB
From your printer LED control panel screen:
- Click Home
- Click Manage Supplies
- Click Reset Supplies
- Click Transfer Kit
- Click Reset
- You will know the printer has completed the reset once your LED control panel screen displays Ready.
If this does not work, you will have to replace the ITB.
After replacing the ITB, you need to reset it in your printer by following these steps:
- Click the Home button on your LED control panel screen
- Click the Administration menu
- Click Manage Supplies
- Click Reset Supplies
- Click New Transfer Kit
- Click Yes
- Click Ok
Method 3: Test The ITB
You can use the printer’s built-in component test or manually test the ITB.
Run your printer’s built-in component test
- Navigate to Diagnostics
- Navigate to Component Test
- Select the Transfer Motors test
- Select the Continuous option
- The printer will now go through a two-minute testing cycle
Manually test the ITB, method one:
- Uninstall the ITB
- Remove the Cyan toner cartridge
- Insert a flathead screwdriver into the Cyan toner cartridge’s slot.
- If the gear spins properly, everything with the ITB works appropriately. However, the fuser assembly is most likely damaged if it doesn’t spin or misses a spin cycle.
Manually test the ITB, method two:
- Find the white ITB gear
- Manually rotate it
- If there are no issues with the flag during the rotation, then everything is fine
- Method 4: Perform Fuser Motor Component Test
- If your printer has a LED control panel screen:
- Click the Home button
- Navigate to Diagnostics
- Navigate to Component Test
- Select the Fuser Motor test
- Select the Continuous option
- The printer will now go through a two-minute testing cycle
Method 4: Clean The ITB
If you can still print, but the quality of the ink in your printers is terrible, you may need to clean the ITB. This is especially common when toner cartridges link, which causes a buildup to form on the ITB belt. This issue is called a registration error and will be visible as streaks, blurring, and unintended mixing of colors.
You can use the printer’s built-in clean function or manually test the ITB.
You can run the HP printer’s built-in clean mode from either the LED control panel screen or your printer’s software which is usually installed on your computer.
If your printer has a LED control panel screen:
- Go to Properties
- Click Device Settings
- Click Cleaning Page
- Click Start
- The printer will automatically go through a printer cleaning process
If your printer does not have a LED control panel screen:
- On your computer, navigate to your printer by clicking the Start menu and Programs. You should find a folder containing software for your specific HP model.
- Click Troubleshooting
- Click Troubleshooting Tools
- Click print to print out a Cleaning Page
- Load the printed Cleaning Page face down
- Click Clean
- The printer will automatically go through a printer cleaning process at this point.
Physically remove the ITB unit and manually clean it.
- Remove the ITB unit
- Check for any debris like pieces of paper
- Clean the ITB slot unit with a lightly dampened, lint-free cleaning cloth
- Clean the ITB unit with a lightly dampened, lint-free cleaning cloth
- Install the ITB unit back into place
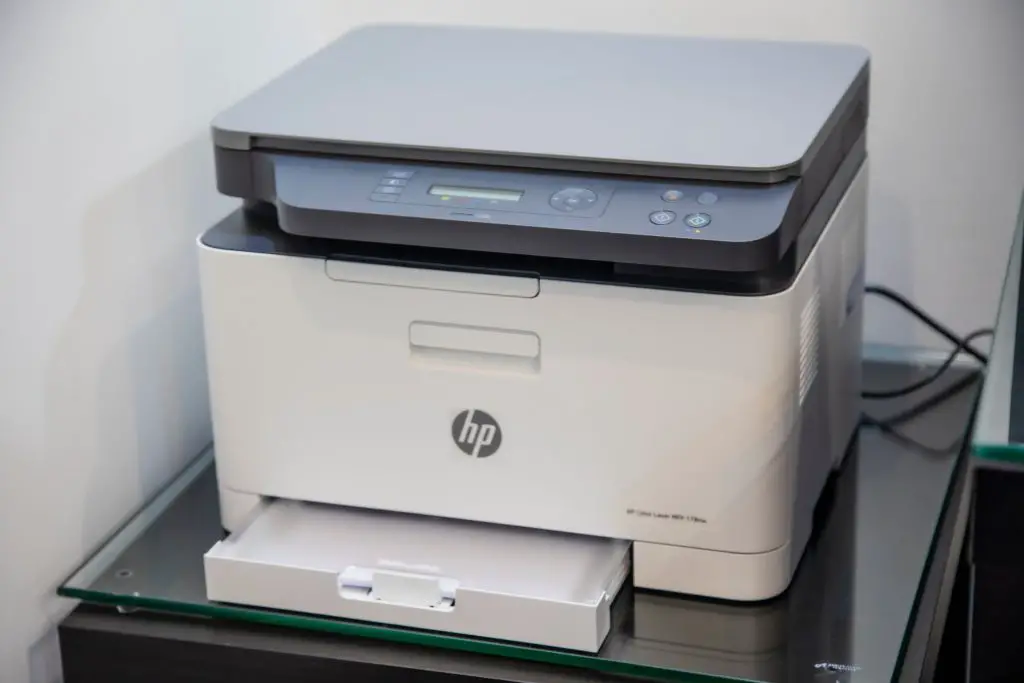
Method 5: Contact HP Technical Help
When all previous methods cannot fix the hp error 59.f0, you can contact HP technical help for further help. You can contact them in three different ways: telephone, email, or chat.
Telephone and Email Support
After accessing the HP printer support page, you will want to click on the Contact Us button. From here, they will ask you for your printer’s serial number and model number to determine the support region you need to contact.
Chat Support
After accessing the HP printer support page, you will want to click on the Ask our Virtual Agent button. A virtual agent can answer the most common questions and will transfer you to a live technician if needed. From here, you can virtually chat with someone to get help with your printer.
59.f0 Error Turn Off Then Turn On
When your printer has a transfer alienation failure, you will receive the printer error (59.F0 Turn Off Then Turn On) message on your printer’s LED control panel screen or pop-up on your computer. You will want to complete the easy steps from each of our six methods to troubleshoot and fix this error.
How Do I Reset the ITB?
You can reset the ITB on your HP printer by following the below steps:
- From your printer LED control panel screen:
- Click Home
- Click Manage Supplies
- Click Reset Supplies
- Click Transfer Kit
- Click Reset
- You will know the printer has completed the reset process once your LED control panel screen displays ready
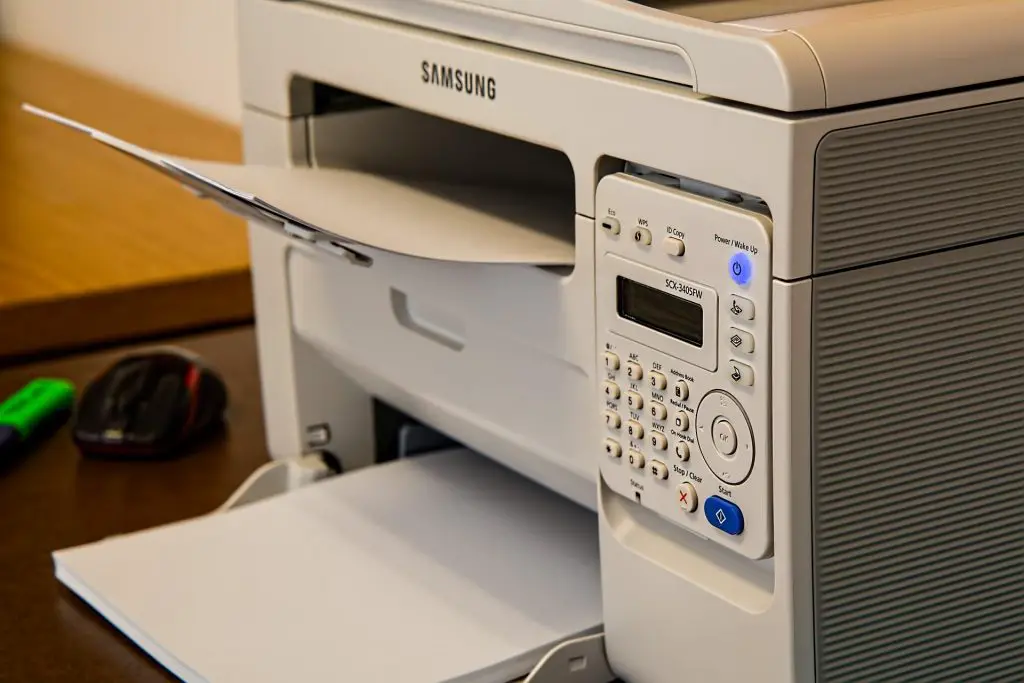
Should I Plug My Printer Into A Surge Protector?
HP does not recommend your plug your printer into a surge protector or an uninterruptible power supply. When a printer is printing, it can send various levels of current through a surge protector or an interruptible power supply. This can lead to unintended issues with the printer, the surge protector, an uninterruptible power supply, and/or the computer.
Common issues include:
- You may hear warning sounds from either your surge protector or uninterruptible power supply
- Your print may operate slowly
- The printer does not wake up from its sleep mode
- Error messages that appear for no reason
- Computer reboots during the print job
- The printer stops halfway or jams for no reasons
- Your LED control panel screen has garbled characters or is blank
- Your printer appears to have stopped working altogether
If you experience these symptoms, you will want to unplug your printer from your surge protector or uninterruptible power supply and plug it directly into a wall outlet.
Conclusion
When you run into a hp error 59.f0, it can be highly frustrating, but it doesn’t have to be! By following the easy steps from each of the six methods in our guide, you will diagnose and fix this error so you can get back to printing.
Frequently Asked Questions
The 59.F0 error HP happens when there is a transfer alienation failure, usually caused by an issue with the Intermediate Transfer Belt (ITB). Common issues with the ITB are debris blocking its ability to rotate correctly, ink build-up from a linker toner, or a sensor issue.
Below are common HP printers that the 59.F0 can affect:
HP cp2025
HP cm3530
HP cp4025
HP cp5225
HP m477fdw
HP m477fnw
We have provided six easy methods to troubleshoot 59 F0 errors on your printer:
Method 1: Reset The Printer
Method 2: Reset The ITB
Method 3: Test The ITB
Method 4: Perform Fuser Motor Component Test
Method 5: Clean The ITB
Method 6: Contact HP Technical Help
The HP CP4025 model does not have a menu option to reset the fuser. There is also no way for you to reset the fuser on this model either manually. The only option for you to reset the fuser on this model is to purchase an official fuser. The fuser will automatically reset after you have installed the fuser and powered on the printer for the first time. Your printer will automatically reset the fuser for you.

