What you find on this page:
Amcrest cameras are top-rated for home security and monitoring. However, you may encounter an issue with your Amcrest camera not connecting to Wi-Fi. But there is good news: you can solve this issue with the help of simple troubleshooting steps.
Here are some tips and tricks that will help you make it work. Follow these steps, and you can solve the problem of getting your Amcrest camera working on Wi-Fi.
Amcrest Camera Not Connecting to Wi-Fi Troubleshooting: Here Are the Solutions
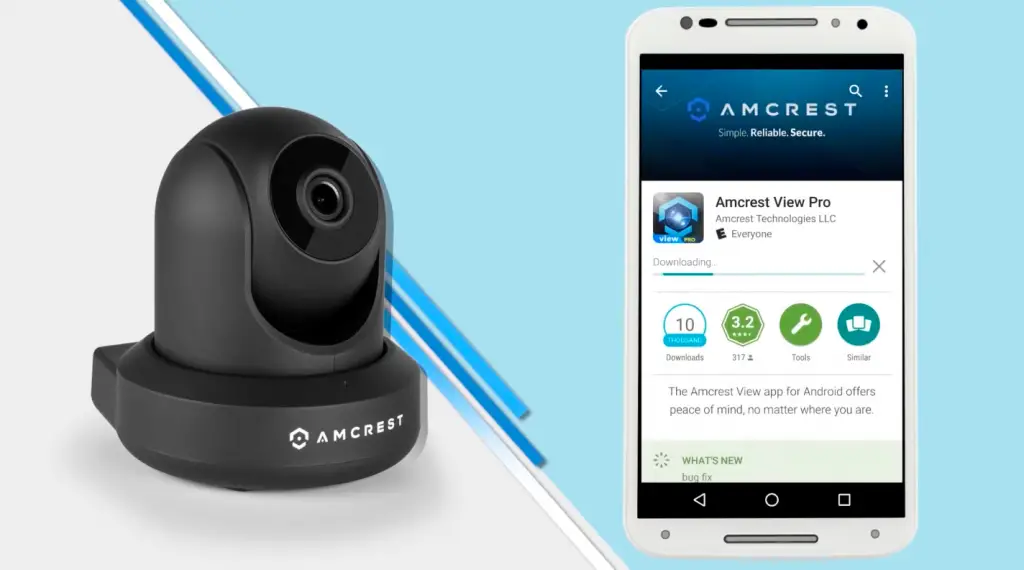
Amcrest cameras can connect to your wireless network and allow you to access your live camera feeds using the app on your mobile device. You can access many Amcrest cameras features using this mobile app, including two-way speak selection, night vision activation, viewing angle adjustment, and many more.
However, you may encounter an issue in which the Amcrest camera is not connecting to Wi-Fi. The Amcrest camera won’t establish a Wi-Fi connection whenever there are network outages.
Several other factors, such as signal interference, inaccurate network information, application error, and network compatibility problems, can also prevent your Amcrest camera from connecting to Wi-Fi.
You can use the Amcrest camera troubleshooting guides to see if they can help you solve your issue. Here are the solutions:
Reinstall Amcrest App
One solution you can try is to reinstall the Amcrest App on your device. Amcrest wifi camera failed to connect error may occur between the app and the Wi-Fi, so you need to check if the app needs reinstallation or not.
Here are the simple steps to reinstall the Amcrest app on your smartphone:
1. Go to the setting on your smartphone and navigate to the app section
2. Look for the Amcrest application, then select it
3. Upon selecting it, navigate through the app and look for the uninstall button
4. Uninstall the Amcrest application to clear its data cache
5. After uninstalling the Amcrest app, download it again using Google Playstore or Apple App Store.
6. Search the Amcrest app, then download and install it.
7. Once the Amcrest app is installed, open it and do the necessary setup.
8. Check the camera to see if it is working again.

Add the Camera Again
Another solution to consider if your Amcrest camera is not connecting to Wi-Fi is to add the camera again to your network connection.
There might have been an improper approach that occurred throughout the Amcrest camera setup procedure of adding up the camera to the Wi-Fi, and doing the process again might solve the issue.
The following are the steps to add your Amcrest camera again to the network connection:
1. On your smartphone, launch the Amcrest application.
2. Search for the “My Devices” button, then tap it
3. Choose your Amcrest camera, then select the “Remove” button
4. In the same panel, tap the plus icon.
5. Choose your Amcrest camera’s type from the list of available models
6. Verify that your Amcrest camera is successfully linked to the Wi-Fi.
Reconnect to Wi-Fi
Another possibility that your Amcrest camera won’t correctly connect to the Wi-Fi is that only a 5GHz network is available. Keep in mind that Amcrest cameras can only connect to 2.4GHz networks because that is what their technology supports.
If your Amcrest camera is already connected to a 2.4GHz WI-Fi and still not working, it is suggested to reconnect it to solve the issue.
Here are steps to follow on reconnecting your Amcrest camera to a 2.4Ghz network:
1. Open your Amcrest application on your mobile device (Check also: Apple Mobile Device support won’t install?)
.
2. Go to “Devices,” then select your Amcrest camera
3. Upon selecting your Amcrest camera, look for the “Set Up” button, then tap it.
4. Select your private network connection and enter your password on the Wi-Fi screen.
5. Configure your Amcrest camera by completing the on-screen instructions and settings.
Power Reset Amcrest Camera
You may also consider power resetting your Amcrest camera if it encounters issues connecting to the Wi-Fi. Power resetting your camera means removing the rechargeable battery from the camera and then putting it on again to reboot the power system of the unit.
Follow these steps to power reset your Amcrest Camera:
1. Uninstall your Amcrest camera unit from its spot
2. Locate the battery latch from your unit
3. Lift the battery latch and remove the rechargeable battery from your Amcrest camera
4. Put the battery back in after five to ten minutes.
5. Turn on your Amcrest camera and check if it solves the issue.

Factory Reset Camera
If you’ve tried the fixes mentioned above and your Amcrest camera still has trouble connecting to Wi-Fi, then a Amcrest Wi-Fi camera factory reset may be your only remaining choice.
A factory reset might help you fix underlying complex network issues preventing your Amcrest camera from connecting to the Wi-Fi.
There are two ways to perform a factory reset on your Amcrest camera. The first uses the computer’s online user interface for Amcrest, while the second is done by physically or hard resetting the camera unit.
To perform a factory reset on your Amcrest camera via the computer, these are the steps to follow:
1. Open Amcrest’s web user interface and log in to your account.
2. Once logged in, select the “Setup” button on the web browser’s top left.
3. Navigate the Setup menu, look at the “System” button, and then click it.
4. From the System button, select the “Default Setting” button
5. Click on the “Factory Default” button, and a prompt message will appear to confirm if you want to proceed with the factory reset.
6. Upon confirmation, enter your password, then click the “Save” button to finish the process.
7. Check if your Amcrest camera has been restored to its factory setting.
If you forget your password or have difficulty accessing the Amcrest web browser, you may proceed to hard reset your Amcrest camera.
To perform a physical factory reset on your Amcrest camera unit, these are the steps to follow:
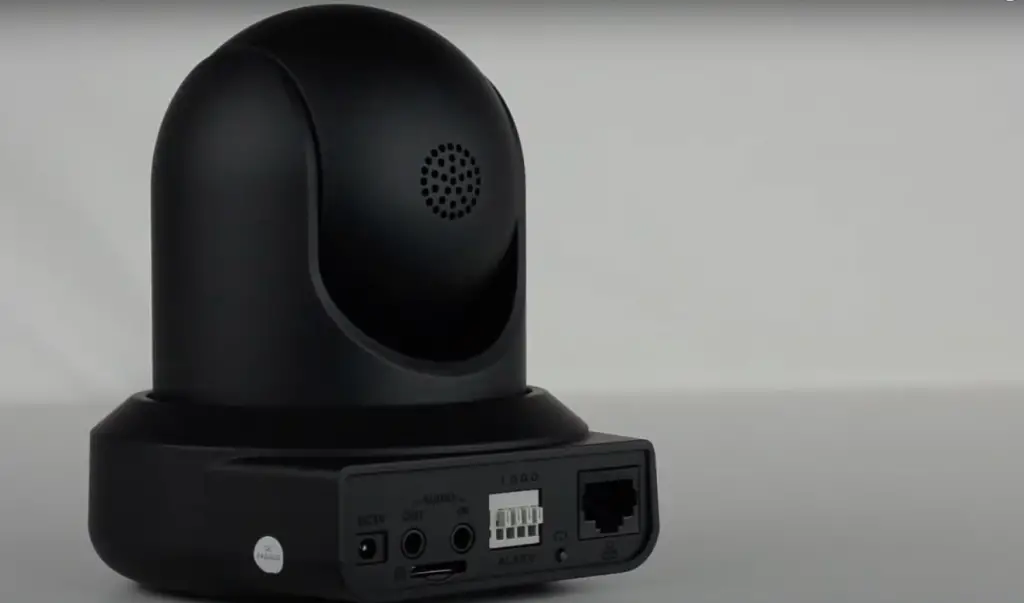
1. Inspect your Amcrest camera unit, then locate the reset button at the bottom or on the backside of the camera.
2. Once located, press and reset the button for about 45 to 60 seconds.
3. When the green indicator of your camera starts blinking, release the reset button
4. Your camera is ready to be connected again when the green indication begins to blink.
5. You can repeat the process of connecting your Amcrest camera to your Wi-Fi connection.
Fix Internet Issues
Checking and fixing your internet connectivity is also a solution to consider when you encounter the issue of your Amcrest wifi camera not connecting to the router.
Here are a few sensible and practical solutions to your Wi-Fi internet problems.
1. Try to have your Armcrest camera connected to your Wi-Fi while unplugging any other wireless devices.
2. Switch off your modem or router for at least five minutes, then turn it back on to perform a hard reset.
3. Pause or cancel any additional network data-intensive tasks, such as downloading, uploading, streaming, and seeding.
4. Finally, to confirm that an issue exists with your Wi-Fi network, you might try to connect your Amcrest camera to the new router.
You may also encounter internet issues regarding the internet speed, the location of the router, or signal interference.
Boost Internet Speed
If you’re having trouble with your Wi-Fi connection, you can try boosting your internet connection speed. This can be done using a wired connection instead of a wireless one. You may also consider using a higher bandwidth connection if possible, reducing the amount of interference from other devices on your network.
If you’re using an older router or modem, it might not be able to handle the amount of data your Amcrest camera is sending out. Try switching to a newer router or modem if you think this might be the issue.
You can also contact your internet service provider about upgrading your internet connection’s speed so that it can send your Amcrest camera the correct quantity of data.
Ensure Your Router Is in an Optimal Location
If your Amcrest camera loses connection, try placing your router in an optimal location. The best place for a router is usually an open area away from metal objects, other wireless devices, and windows. This is because these objects can disrupt the radio signals used by routers.
Check for Signal Interference
Check for interference from other wireless devices if your Amcrest cameras are having trouble staying connected to the internet. Interference can come from your neighbor’s Wi-Fi router or radio transmitters, cell phone towers, and other sources that operate on the same frequency as your networked equipment.

Conclusion
Hopefully, this guide has given you some excellent knowledge on how to connect Amcrest cameras to wifi. Depending on your case, you can try the solutions above. But if that doesn’t do the trick, contact Amcrest support to assist with your issue with your Amcrest not connecting to Wi-Fi.
We know that sometimes the issues continue, so please contact us if you need further assistance, our team of expert will help you.
FAQs
The most typical queries regarding the Amcrest camera not connecting to a new wifi router are listed below.
By using a computer to access the web user interface or by pressing the reset button on the back or bottom of the camera unit, you can reset your Amcrest camera.
The most straightforward technique is to physically reset your Amcrest camera because it only takes a minute to complete the process.
Amcrest camera light indicator blinks red if the camera and intelligent hub are not adequately synced during the pairing process. If this happens, you must repeat the pairing process for both devices to sync.
Resync your Amcrest camera to the smart by pressing and holding the sync button located at the back of the camera. When the front light indicator in your camera turns red, release the sync button and try to pair it again to the smart hub.
Your Amcrest camera blinking green light indicates a lost connection to the Amcrest app. Network disconnections could be caused by problems with the internet or the smartphone’s Amcrest app installation.
Because the connection setup on the Amcrest application on your smartphone has been set to “Ethernet Only Setup,” Amcrest cameras only function with Ethernet. Remember that Amcrest cameras can only be configured via Ethernet or Wi-Fi; you cannot enable both connections.
You can connect your Amcrest camera to your network using an Ethernet cable aside from the Wi-Fi setup.
Here are the steps to fix the issue of Amcrest camera not connecting to Ethernet:
1. Open your Amcrest View app, then select “Add Device.”
2. To enter the serial number, you scan the QR code or manually enter the device’s serial number
3. After entering the serial number, tap the “Ethernet Only Setup” option
4. Then set up your password and tap the “OK” button
5. The front light indicator will turn solid green when connected successfully.


