What you find on this page:
Sometimes, when you need to use an electric staple gun, it doesn’t run as smoothly as you’d like. If you are having trouble with your Arrow electric staple gun, this Arrow electric staple gun troubleshooting guide will help you troubleshoot and repair the machine as quickly as possible.
Common Arrow Electric Gun Problems and How To Fix Them
Here are some common staple gun issues and solutions to fix Arrow electric staple gun.
1. Jamming
It’s common to experience jams with staple guns, whether electric, automatic or pneumatic. Jamming happens when staples get bent, cramped, or wedged inside the gun head.
If the stapler is not treated for a long time, it can ruin the inner mechanism. Due to jamming, the stapler cannot function properly and will not even fire. There are several ways you can resolve a jammed Arrow staple gun.
Solutions for Jamming
If you want to unjam a staple gun, follow these steps carefully:
- Take out the staple gun’s pusher rod (the bar extending along the magazine of the gun)
- Unplug the screw and remove it at the bottom of the magazine.
- Look for loose staples or other blockages.
- Use a needle-nose plier to clear out the jammed staples.
After unblocking the firing mechanism, you can test the gun by firing a round of test staples on scrap material.
2. Dispensing Too Many Staples at Once
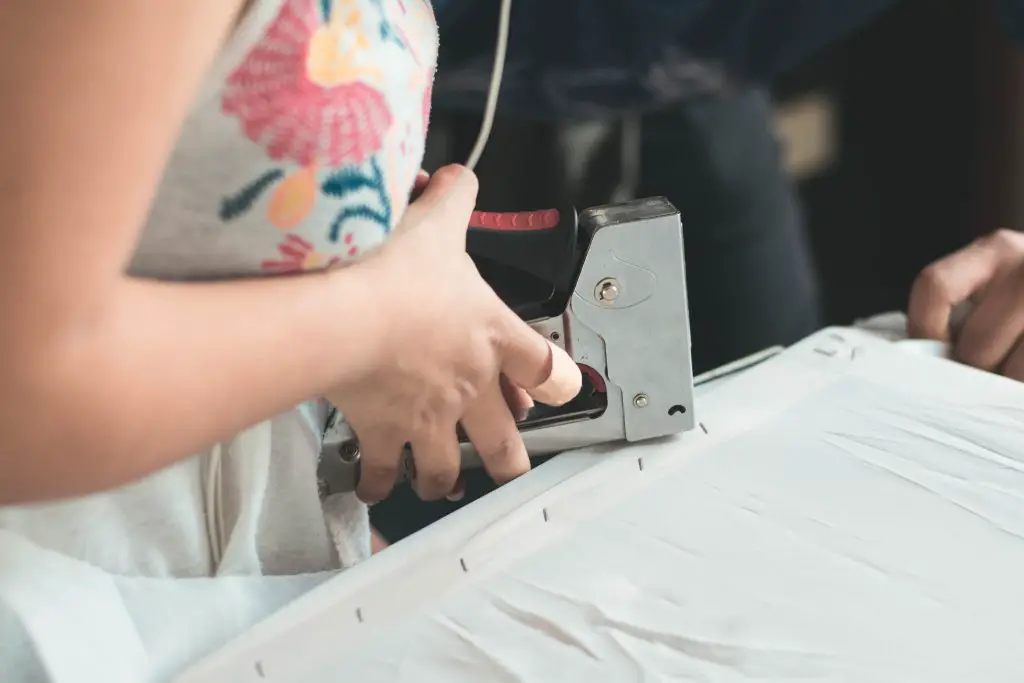
You may also encounter a problem with your staple gun firing multiple staples simultaneously. If you’re working and your gun is firing multiple staples simultaneously, you will not be able to secure your items. In addition, you will ruin your work if there are too many staples coming in.
Any heavy-duty stapler can experience this problem. In contrast, pneumatic or electric staple guns are severely affected by this issue. The inner workings of these types of guns get damaged if they fire too many staples at once. Too much pressure can bend parts of the gun and damage the whole tool.
Solutions for Dispensing Too Many Staples
To fix this issue of firing too many staples, first, you need to disassemble the staple gun and empty it.
- The next step is to find out which pins will work best with your staple gun.
- Check the type of staples you’ve been using, and compare them with the ideal staplers suitable for your gun.
- You may have been using the wrong kind of staples.
- Buy the staples that are most suitable for your gun. Then, make sure your stapler is working correctly by reloading it with new staples.
3. Clogged or Misfiring Hammer
When your staple gun shows signs of clogging or misfiring, you’ll know you have a clogged hammer:
- Staple gun releases bent staples.
- A staple gun can’t penetrate materials fully.
Misfiring or clogged hammers can pose a safety risk. Additionally, malfunctioning tools make your projects more difficult and time-consuming.
Solutions for a Clogged or Misfiring Hammer
As with jamming issues, you should disassemble your tool and remove any blockages. You should check other issues if the hammer is still clogged, sticky, or misfiring. As staple guns age, they accumulate dirt and grease that hinder their performance.
Clean off any dirt, grime, or grease that has built up on it. To remove dirt and polish it squeaky clean, use vinegar, WD40, or degreaser. You should replace your hammer if it is bent out of shape or worn down.
4. Inadequate Depth Penetration
Using a staple gun can be challenging to penetrate the materials adequately. The quality and performance of your project will suffer if your stapler cannot penetrate the material adequately.
Blockages often cause this inadequate penetration. However, most of the time, it is caused by using incorrect or low-quality staples. In some cases, the staple gun’s power output also contributed to this. Therefore, you must check each one individually and fix them to prevent this from happening again.
Solutions for Inadequate Depth Penetration
First, check the caliber, length, and size of the staples you’re using with your gun. Then, check if they fit well.
Next, determine whether your staple gun is the right tool for your working material. For example, some materials can be punctured more efficiently with a screwdriver or drill than with a stapler.
5. Arrow cordless staple gun flashing red and green
According to the Arrow electric staple gun manual, the battery indicator light flashing red and green is caused by a charging problem. The staple gun displays a solid green light when fully charged. Battery lights flash red when the battery is low and green when the device is in battery-saving mode.
However, if your staple gun continually flashes red and green lights, there might be another reason. In this case, the light indicates that the stapler is jammed. A staple is probably stuck in the feed tube, so you need to remove it. If you unjam the tool, your gun will stop flashing red and green lights.
6. Arrow cordless staple gun not charging
If your Arrow staple gun is not charging properly, follow these steps:
- First, check if the power outlet works by plugging in other electric appliances.
- Check if the temperature of the location where you’re charging is too hot. The ideal air temperature should be between 65°F- 75°F or 18°- 24°C.
- While charging, keep away materials such as aluminum foil, steel wool, or any metallic particles.
- Go to your local service center with your changer and the stapler if the charging issue continues.
Other Ways to Troubleshoot an Arrow Electric Gun Staple Gun
Most Arrow staple gun troubleshooting can be done with common household tools within a few minutes.
1. Verify the Staple Size
Make sure the staples you loaded into your gun are the right size. In general, staple size is determined by measuring the length of the sharp points. The staples range in size from 7/32 inches to 7/16 inches, with a maximum length of 2 inches.
The staple should be three times longer than the thickness of the material. For example, the staple should be twice as long as the wood’s thickness for hardwood. It is, therefore, important to determine the right size staples before beginning work based on the materials you will be working with.
2. Check Inside the Staple Gun
Check the staple gun’s inside to see if it’s loaded with staples. A sliding compartment on the bottom of the staple gun holds staples. To release the sliding, pull the two latches on the bottom side backward. Check for any staples that are lying at an awkward angle inside and align them properly, so they come out smoothly.
3. Check the Rod and Spring
With the help of a metal spring, the pusher rod applies tension to the stack of staples. When you use your gun, it pushes the staples forward. You can test the rod and spring by removing the staples first, then sliding the rod back and forth. Lubricate the spring and rod if it doesn’t slide smoothly. The spring should be replaced if it becomes too loose or stretches out.
4. Special Safety Precautions
Don’t forget to take safety precautions while working with a staple gun. Safety goggles and protective clothing should always be worn when using an electric, manual, or pneumatic machine. Wear gloves to keep your hands safe and keep them away from the stapling area to prevent injury.
5. Unplug or Disconnect It and Unload It
Unplug or disconnect your Arrow electric staple gun before you begin unjamming it. After disconnecting them, it is important to keep compressed air tanks and hoses securely away from the work area. Removing unused nail strips or stray staples from the inside of the gun is a good idea so they do not clog it up.
- Sum of Its Parts
A worn-out or broken part inside the Arrow electric stapler will prevent it from working. All parts of the hammer, spring, pusher rod, etc., should be undamaged and correctly assembled. If you don’t use the right type and size of staples, you might jam the hammer or spring mechanisms. In addition, springs can lose strength over time or stretch out; replace them if necessary.
- Debris, Grime, and Fuzz
To keep the inner mechanisms running smoothly, you should occasionally lubricate the tool. However, oil and grease attract dust, dirt, grime, etc., which leads to debris buildup. As a result, your Arrow staple gun stops working due to jamming or clogging. You should disconnect your gun from its power source to clear all the debris. Next, follow the manufacturer’s instructions to clean the hammer and the stapler’s interior. You can also use vinegar or degreaser to clean and polish the inner parts.
6. Staple gun not penetrating
A staple gun that cannot penetrate the material often occurs because of a blockage, but using the wrong staples is also one of the main reasons. It is important to use staples of the right length and size to puncture the material successfully. In addition, a staple gun won’t be able to penetrate properly if the staples are not well-fitting or low-grade.
7. Staple gun won’t fire staples
It is possible for the staple gun not to fire staples if it is jammed. Check for dirt and grime buildup by disassembling the tool.
- Clean the inside mechanism of any dirt clogging it.
- Check the pusher rod and spring as well. Staples are tensioned by a metal spring enclosed in the pusher rod.
- The staples should be removed first; then, the rod should be slid back and forth. Finally, lubricate the spring and rod if the sliding isn’t smooth.
- Replace the spring if it becomes too loose or stretches out too much.
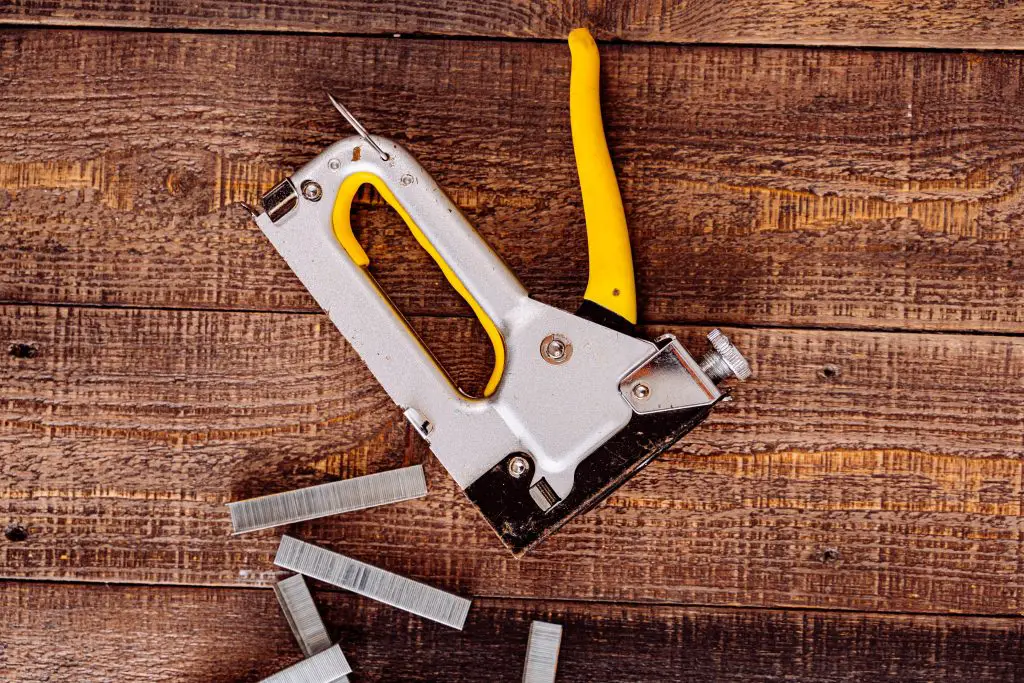
Tips for Fixing Jams in Different Types of Staple Guns
Staplers come in three types: electric, manual, and pneumatic and jamming is the most common issue. Different types of staple guns can be unjammed using other techniques.
Unjamming Manual Staple Guns
- Take out the pusher rod.
- Take out the magazine holding the staple strip.
- Use a small screwdriver or a needle-nose plier to pull out any jammed or stray staples.
- Reassemble your staple gun and secure the screws holding the magazine.
- Load your tool with the right size and type of staples and use it to work.
Unjamming Electric or Pneumatic Staple Guns
- Unplug or disconnect your staple gun from the power source. If it’s battery-powered, then take out the battery.
- Pull the release clip to open the magazine.
- Use a needle-nose plier to remove stuck staples from the magazine.
- Reassemble the staple gun and check to ensure it’s functional again.
Conclusion
This Arrow electric staple gun troubleshooting guide will show you how to fix the most common staple gun problems. The most common issues you’ll encounter with an Arrow electric staple gun are jamming, clogging, misfiring, or firing too many staples, inadequate depth for penetrating materials, flashing lights, or charging problems.
These issues can be resolved by troubleshooting steps such as unjamming, loading the correct staples, removing the blockage, and lubricating the inner parts.
Frequently Asked Questions
There are many reasons why your Arrow T50 staple gun doesn’t work, including jamming, inadequate penetration depth, clogging, or misfiring. Unjamming the Arrow T50 electric staple gun is the easiest solution for troubleshooting the device. If stray staples are lodged inside, the gun won’t be able to fire staples due to blockage.
First, to disassemble a staple gun, make sure it is powered off. Next, turn the gun upside down and press the pusher assembly. Slide the pusher assembly till the staple magazine comes out. Remove the staples carefully from the magazine. Close the pusher assembly until it snaps back into place. You can assemble the staple gun in reverse order if you want.
To unclog an Arrow staple gun, you must first disconnect the power source. Next, remove the staple clips from the gun casing, then pull out the staple clips. If any staples are jammed or stuck, use a needle-nose plier to remove them. After clearing out the blockage, reload the staples and power it on again.
The spring near the pusher rod at the bottom of the staple gun makes the staple compartment slide forward. Pressing the trigger or squeezing the trigger pushes the staples through the device. A spring is attached to the pusher head and the other end to the gun casing. To access the spring, you may have to remove the cartridge slider.
To fix a staple gun that won’t open, you first need to remove whatever is blocking it from being opened. Next, find the release lever on the bottom of the gun and pull it out to unclip the magazine, which will remove it from the staple gun. Next, take a plier and remove any stuck or jammed staples within the magazine. After you remove them, you can open the staple gun again.

