What you find on this page:
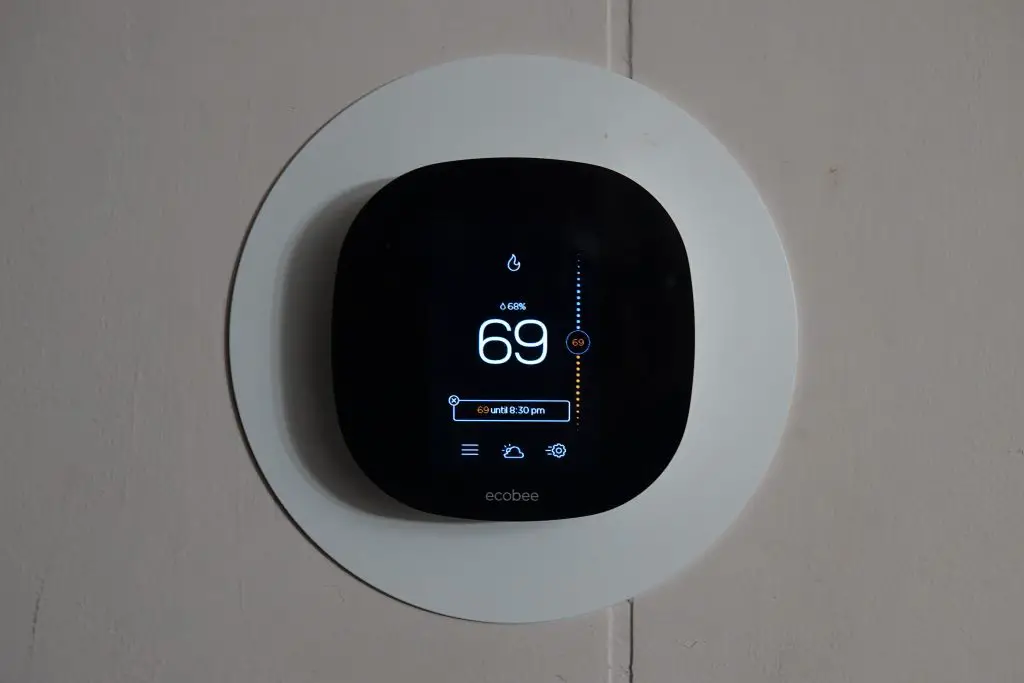
The Nest thermostat gives you control over your home from wherever you are. You can adjust temperatures remotely with an app and monitor heating and cooling needs remotely. You can receive notifications when your home’s temperature moves outside of a selected range and track your energy consumption over time.
You may need to perform Nest thermostat troubleshooting periodically. Many problems are easy to diagnose and fix. A common issue is a Nest thermostat blinking red.
Why Is My Nest Thermostat Blinking Red?
There might not be a message saying, “Nest Thermostat no power,” but a blinking red light means that the Nest’s battery charge is low. If you have just installed it, a Nest Thermostat flashing red light should stop flashing after a few minutes. There are several issues to investigate if the light continues blinking and the thermostat won’t power on.
How to Manually Charge the Battery?
Remove the front terminal of the Nest from the base and plug it into a computer with the included USB cable, or connect the USB cable to the provided plug adapter and charge the Nest via a wall socket. You cannot use your HVAC while the Nest is charging.
Nest Blinking Red Light with Black Screen
A Nest flashing red light with a black screen may be a different issue. If you have a multimeter, you can check that power is getting to your thermostat by following these steps:
- Remove the front terminal of the Nest
- Set the multimeter to volts (usually labeled VAC or V)
- Designate 24V or the first value higher than 24
- Touch one probe to the R terminal and one probe to the Y, G, or W terminal
- Check the output. You should see 22 – 26 volts
- A reading of zero means there is a continuity issue, and no power is reaching the thermostat
It is possible that the battery is bad and will not hold a charge. Replace the lithium-Ion battery with a replacement found online, or contact the company for a new unit under the limited warranty.
How Long Does a Nest Thermostat Need to Charge?
The Nest requires Half an hour to two hours to charge, depending on the initial battery state. The Nest battery will remain charged for up to two hours of use. The Nest needs to have power because it’s connected to wi-fi. The battery needs to maintain a minimum charge level to communicate with the system.
Red Light Doesn’t Turn Off?
If you’ve let the Nest charge for a sufficient time and the red light is still blinking, you can explore several possibilities.
Check the C-Wire
If you’re charging the Nest via your HVAC system, you need to check the C-Wire (common wire). The C-Wire takes power from the HVAC and uses it to power the thermostat. This connection provides constant power that does not rely on the HVAC unit running. If you remove the front terminal of the thermostat, you should see a wire connected to the C terminal.
If there is no C-wire, look behind the thermostat. Sometimes unused wires are pushed back into the wall. If you can’t locate the wire, you can run one from the HVAC. You may want to contact an electrician at this point, especially if the furnace is a considerable distance from the thermostat, as wires will run behind walls.
Another option is to purchase a C-wire transformer. This unit plugs into a wall socket and can be wired directly to the Nest. The challenge with this is hiding the cord from view. You can have a professional hard wire the transformer behind a wall.
You can also move the G-wire (fan wire) to the C-wire terminal. You need to do this on the Nest and your HVAC system. This wiring eliminates the need to install a new wire if the C-wire is not present.
Check the Power Supply
Check the Voc, Vin, and lin, values that indicate the flow of electricity through wires. Access the Nest quick menu and select Settings: Technical Info: Power. This information will confirm if the Nest is receiving sufficient power for charging the battery. A reading of 3.7v is adequate.
Verify the following values, which differ depending on the presence of a C-wire:
No C-Wire
- Voc: 29v to 42v
- Vin: 6v to 7v with HVAC running or 29v to 42v without HVAC running
- lin: 20mA to 40mA
With C-Wire
- Voc: 29v to 42v
- Vin: 29v to 42v
- lin: 100mA or 200mA
If the information you see differs from these values, the thermostat does not have sufficient power for charging the battery.
Fix the Battery
The Nest can get power from the HVAC without a C-wire, but only when the HVAC is running. If this is enough power to keep your Nest charged, you can connect to an R terminal. If the HVAC is not operating for a period, the Nest battery will drain. This setup will vary depending on your thermostat configuration.
When receiving insufficient power, the Nest will “pulse” or short-cycle the HVAC to get a boost when needed. Some users don’t like this feature because they hear the HVAC starting and stopping repeatedly. Other users say the pulsing is not noticeable. Either way, having a C-wire installed is an excellent idea to ensure constant power to the thermostat.
Additional Troubleshooting
Clean all connection points to the thermostat. Dirt or dust may be affecting the quality of the connection. Verify the + and – terminals are aligned correctly with the base. Make sure the HVAC system has power. Ensure all wires connect between the HVAC and the Nest. A blown fuse inside the HVAC system could prevent power from reaching the thermostat, a cheap and easy fix.
Conclusion
Nest thermostat problems can be frustrating, but most are easy to fix. If you have a Nest, it’s good to become familiar with the product and know what to do when something goes wrong. Some advanced Nest thermostat issues may require professional assistance, but you can complete most at home without specialized technical knowledge.