What you find on this page:
The front door is one of the main entry points to your home. From guests and package deliveries to potential intruders, you’ll want to rely on your Skybell security camera to keep track of your daily activity. After all, this doorbell camera comes with convenient features like HD video, motion sensors, a 180 field view, two-way audio, and other integrations to give you peace of mind.
However, in certain circumstances, your Skybell can lose its connection and start flashing red and green. What does this mean? If your Skybell device changes colors between red and green, read on for solutions to make it work again.
Why Is My SkyBell Blinking Red and Green?
Your SkyBell device is blinking red/green because it is in Wi-Fi synchronization mode. You will need to re-sync the device before it works again.
Re-Sync the Device:
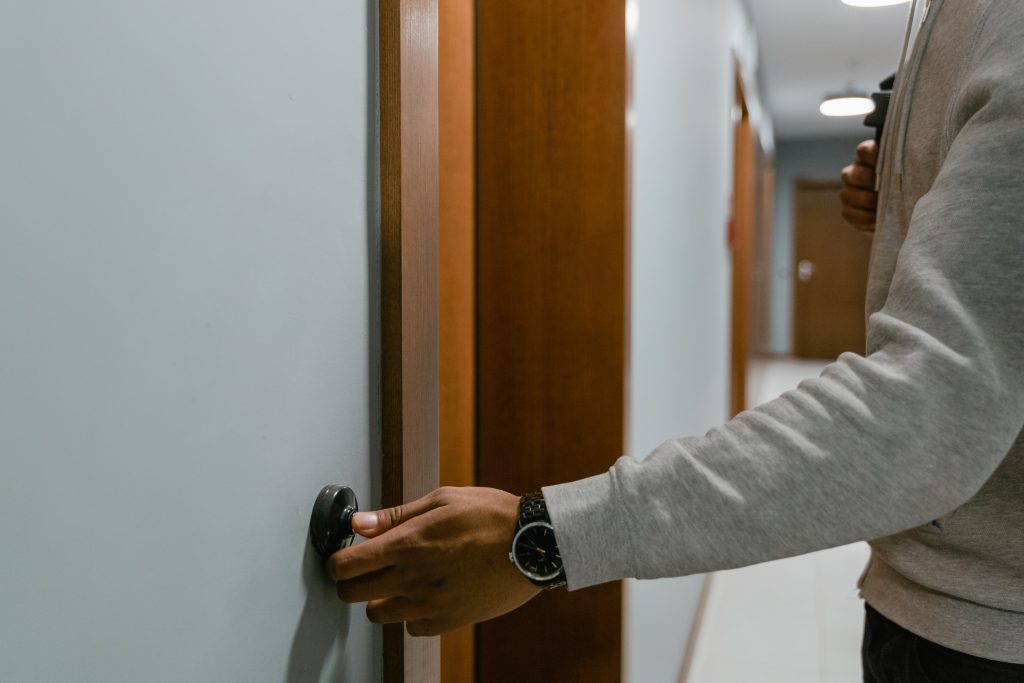
To re-sync the device, hold down the main button until it rapidly flashes green, then release.
Step-by-Step Guide
Using the step-by-step guides below, you can perform a soft reset to resolve various issues.
1. Performing a Soft Reset
- Press and hold the SkyBell button for approximately 45 seconds.
- The LED sequence will quickly flash Green, then flash alternating Red/Green, then rapidly flash Blue.
- Once the SkyBell starts flashing blue, release the button. This step allows the SkyBell to reboot. Now the factory reset is complete.
- The reboot process typically takes one minute to complete.
- The SkyBell will automatically reconnect to your home Wi-Fi network and return to normal operating mode, showing a solid Green (or chosen) color.
2. Performing a Factory Reset
- Press and hold the SkyBell button for approximately one minute.
- The LED sequence will quickly flash Green, then flash alternating between Red/Green, then flash Blue, and then flash Yellow.
- Once the SkyBell starts flashing Yellow, release the button. This step allows the SkyBell to reboot. Now the factory reset is complete.
- The reboot process typically takes one minute to complete.
- Delete the SkyBell device from the app installed on your smart device while the SkyBell is rebooting.
- Once the SkyBell begins flashing alternating Red/Green, add the SkyBell device in your smart device Skybell app again.
- Connect the SkyBell to your home Wi-Fi network by Syncing the SkyBell in the normal fashion.
Skybell Flashing Yellow
If the LED flashes yellow, the SkyBell is performing a factory reset. As a result, your device erases all the user settings and information and returns to the factory default setting. Do you need to perform a factory reset? If so, hold the button down until it flashes yellow (about 10 seconds after it flashes blue).
Skybell Blinking Green and Blue
The LED flashing of Green and Blue during the initial syncing process should only occur for a few seconds. However, if your SkyBell HD was already successfully synced but now flashing green and blue, this indicates that your SkyBell is connected to the router but lacks an internet connection.
To troubleshoot:
- Unplug your wireless router and then plug it back in. DO NOT press the reset button on the router, which will cause you to reconfigure your network.
- Once the router is powered back on, test the internet connection from your phone connected to the WiFi, and you should see your SkyBell LED back to its normal “ready” color.
How To Install the Skybell Doorbell?
Before you begin the installation process, confirm you have a Wi-Fi signal range at your door.
- Remove your existing doorbell (if applicable). Leave the wires exposed and keep them separate to prevent the wires from touching and activating the door chime.
- Use the mounting plate to determine where to place the screws. Mark the location (optional) if the screw holes from the existing doorbell match).
- If installing into brick, concrete, or stucco, use a power drill with the included drill bit to drill the holes for the screws. If installing into the wood, use the included screwdriver and screws to make the holes. If the drill holes are too big, use the screw anchors (included) to provide the best fit for the screws.
- Place the SkyBell HD mounting plate onto the desired location, lining up the holes with the mounting plate and ensuring that the screws are facing forward.
- Carefully pull the wires through the mounting plate, ensuring the two wires don’t touch.
- Use the included screws to install the mounting plate. Tighten until secure.
- Loosen the two screws slightly, so the ends of the wires pass underneath.
- Insert one wire under each screw and tighten. Give each wire a slight tug to be sure each is secure.
- Tuck away in extra/visible wires.
- Find the SkyBell HD.
- Find the lip located on the top of the mounting plate.
- Attach the top of the SkyBell HD to the lip first, tipping it up slightly to ensure it is attached.
- Snap the bottom into place until it is flush with the mounting plate.
- Hold the device in place until the LED light brightens. If the LED does not illuminate, remove the SkyBell and ensure the wires are properly attached to the mounting plate.
- Tighten the screw on the bottom of the mounting plate. Turn the screw to the right until it is tight but be sure not to over-tighten.

How To Install Skybell Digital Doorbell Adapter?
- Insert one wire each into the SkyBell Digital Doorbell Adapter (DDA) connector.
- Make sure the wire is inserted all the way in and not loose.
- Connect one wire lead to the “FRONT” terminal of the digital doorbell chime
- Connect the second wire lead to the “TRANS” or TRANSFORMER” terminal
- Make sure all wires are fastened securely.
What Size Doorbell Transformer Do I Need for Skybell HD?
SkyBell is only compatible with mechanical and digital doorbell chimes.
For a single SkyBell, the 16VAC 10VA is the recommended transformer. These are the suggested transformer models:
- Honeywell RCA900N1008/N 16V Low Voltage Transformer (Amazon)
- Hampton Bay Wired Door Chime Contractor Kit (Home Depot)
The recommended transformer for more than one SkyBell is a 24VAC 40VA transformer. This is the suggested transformer model:
- Honeywell Transformer, AT140A1000 (Amazon)
Conclusion
Installing your SkyBell may involve several steps, but it’s worth it in the end when you feel a sense of added security around your home. Plus, the setup is more convenient than hardwiring a traditional doorbell. Skybell typically takes less than 30 minutes from start to finish, so it shouldn’t take up much of your time. With our guide, you don’t have to worry about flashing lights or installation issues! Did you find this guide helpful? Let us know!
Frequently Asked Questions
If your first sync was unsuccessful, try giving the SkyBell 10 minutes to charge the battery. Then, try the syncing process again. For Android users, log out of the app and then sign back in before attempting to sync.
You can perform a factory reset by pressing and holding the SkyBell button for about one minute. The LED will quickly flash Green, then flash alternating between Red/Green, before flashing Blue, then Yellow.
Please note that SkyBell does not work without internet access.
Try a soft reset by holding the SkyBell LED (main button) down for approximately 45 seconds. The SkyBell will rapidly blink green and then flash Red/Green. Continue holding the button down until the LED flashes.

