What you find on this page:
Widex hearing aids provide a natural sound without making you feel like you have any device in your ears. They employ advanced sound engines, seamless integration, and AI-powered personalization that let you live without stressing about your hearing loss. You can even stream audio from another device through the Widex hearing aid Bluetooth feature.
However, these hearing aids, like any other technological device, experience setbacks. For instance, your device’s wax filter can become faulty and diminish or weaken the sound. So, it’s crucial to understand some Widex hearing aid troubleshooting tips for a smooth experience.
Widex Hearing Aid Troubleshooting: Problems and Solutions
Widex makes sophisticated hearing aids and has been in business for over 60 years. This long-term experience makes their devices trustworthy, and since they offer solutions to people who experience extreme hearing loss, it’s easy to assume their products are high-quality.
However, the high-quality Widex hearing aids don’t mean you’ll not face some problems. Luckily, you can quickly fix these issues, as explained below.
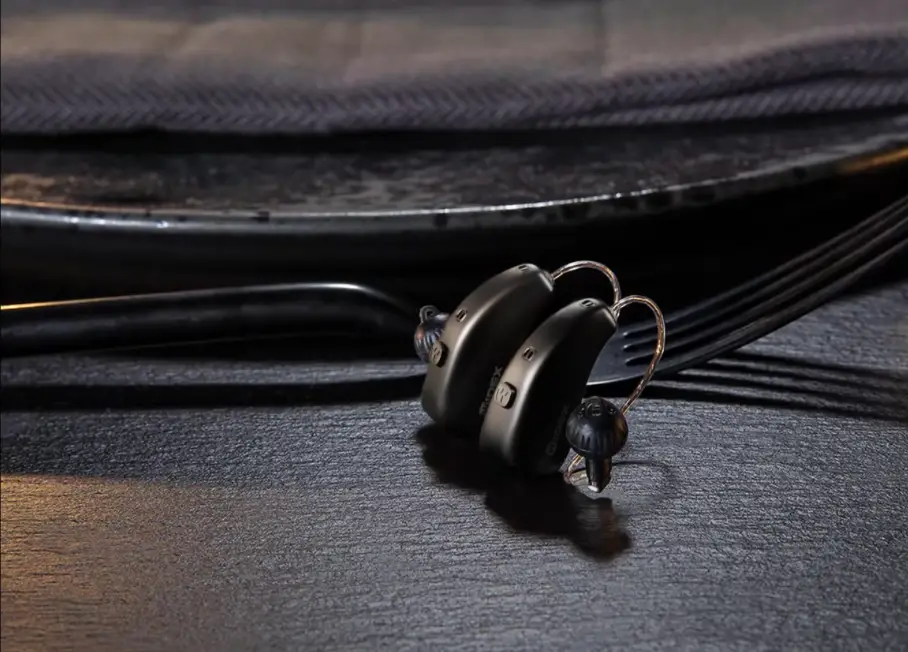
Battery Change
Your hearing aid device should take 4 hours to charge fully. Depending on streaming time and fitting, this battery charge should sustain it for 16-29 hours. However, if you need to use it urgently, you can charge it for 30 minutes, and it should deliver four listening hours.
Sometimes, you may find that your Widex hearing aid is not charging or there’s some kind of error. For instance, these errors stop the current flow, and the Widex hearing aid charger shows a red light.
The indicators may also start flashing yellow, indicating that the device overheats when charging and pauses the process.
Once your battery starts misbehaving, it is time to change it.
One type of battery charger you can look at is the Widex Charge n Clean. Besides charging your hearing aid, it destroys 99.99% of bacteria. Search for some Widex Charge n Clean reviews online to see if it could be for you.
How To Change Batteries
First, you’ll need to remove the older battery from its compartment by opening the area and turning the device upside down for it to fall out. If it doesn’t, gently poke it with a cleaning stick. Next, pick up a new battery using the magnetic stick and place it in the folder.
Your battery may not fit correctly in the compartment. If so, try inserting it in the folder again to rectify the issue.
Some recommend waiting for 5-7 minutes after removing the old battery before you insert a new one. This way, the air activates the battery and expands its lifespan for three more days.
Finally, remove the sticker and close the compartment door once the battery fits, then try charging it again. It should power on correctly and stay on charge for about 4 hours.
In addition, remember to do a battery test to ensure it works perfectly. You’ll have to hold the device up to your ear once you lock it in the compartment and listen for squealing sounds. If you don’t hear any sounds, then the battery is faulty.
Filter Change
On average, you should change your hearing aid filters between 4-6 months of use.
How To Change the Filter
To start the filter change process, open the filter pack and remove the dome on the receiver’s end of the hearing aid. Once you remove it, you’ll see the little white filter that needs replacement. Next, you’ll have to remove one of the black sticks from the wax filter kit.
The black stick has two ends, one of them is a removal stick, and the other is the new filter. So, snap the removal tool into the existing filter and pull it straight out. Next, you’ll need to turn the removal tool around and push the new filter into the receiver without extra force.
Finally, place the dome back onto the top of the receiver to prevent the filter from sticking in your ear.
Brush Out the Microphone Ports
One thing that can affect your hearing is dusty microphone ports. Clean them out with a brush. It’s usually included when you buy the equipment. If it’s not or you misplaced it, you can use a soft-bristle toothbrush.
Replace Wax Filters
Wax filters enhance your ability to hear with Widex hearing aid devices. However, once they become faulty, you can barely hear any sounds. So you must replace them frequently.
When you do the replacement depends on the model of your Widex hearing aids. However, you can regularly check the speaker end of the devices to see if they’ve collected a substantial wax amount.
Also, since these filters have holes, check if they are entirely clogged. Sometimes, they appear plugged and start malfunctioning. If ignored, you’ll begin to hear faded or softened sounds.
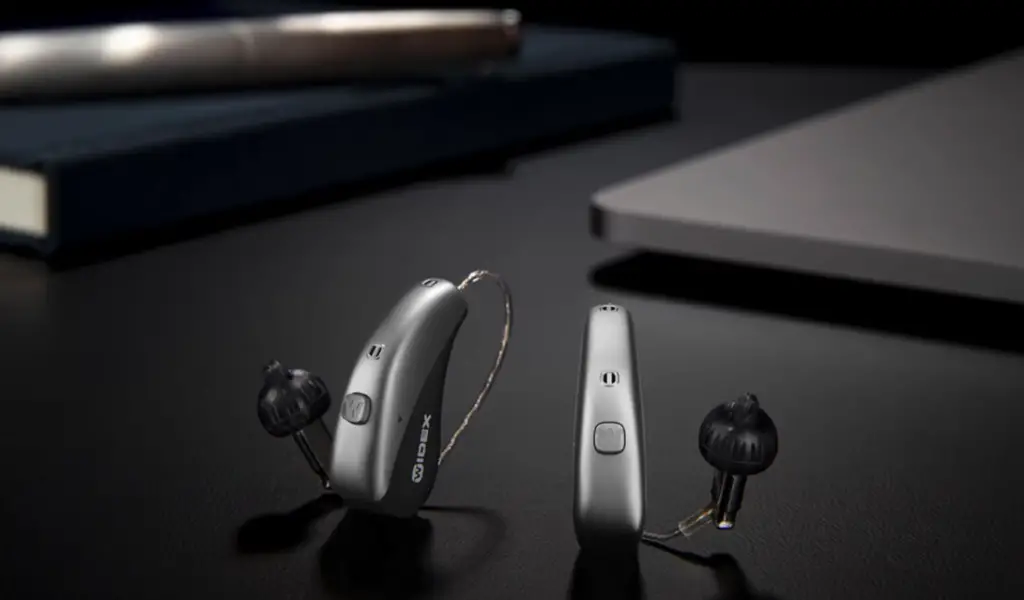
How To Replace Wax Filters
You can use the following procedure to replace wax filters in a Widex Moment, Dreams, Unique, and Evoke hearing aid device.
Depending on your wax build-up, you can replace them between 3-4 weeks of use.
First, open your Widex wax filter pack. After that, remove the Dome on the receiver end to make the white filter visible.
Once you see the old wax filter, remove one of the black sticks from the kit. Next, you should see a removal tool. It is usually a raised circular end on the receiver.
The new filter is usually at the stick’s opposite side. So, clip the removal tool into the filter and pull the older one out.
Next, push the new filter, without forcing it, into the receiver using the opposite end of the stick. Then, place and secure the dome back on that receiver. Also, take care not to force it.
Finally, comfortably place the Widex hearing aid device back onto your ear and test it.
Widex encourages hearing aid users to regularly clean and use wax guards to enhance the lifespan of these wax filters.
Replace Domes
Widex hearing aids require functional domes to maintain cleanliness and ideal condition. So once you notice your device misbehaving, start by checking the domes.
Changing these domes reduces wear and tear, improving the device’s lifespan. In addition, once you change them, you’ll minimize debris and wax build-up in the receiver.
However, before you replace these domes, you’ll have to send a photo of your hearing aids with their current domes to the Widex customer service center for advice.
How To Replace the Dome
First, grab the dome and peel it off the receiver. Then, you’ll have to change the wax filters and snap the dome back onto the receiver. Finally, pat the end of the dome to ensure that it doesn’t come off.
Make Sure Your Hearing Aid Is Turned on
Your Widex hearing aid device will fail to work when it’s off. So you’ll need to turn it on first. Turning your hearing aid on shouldn’t be difficult since it is a simple process.
How To Turn Your Hearing Aid on
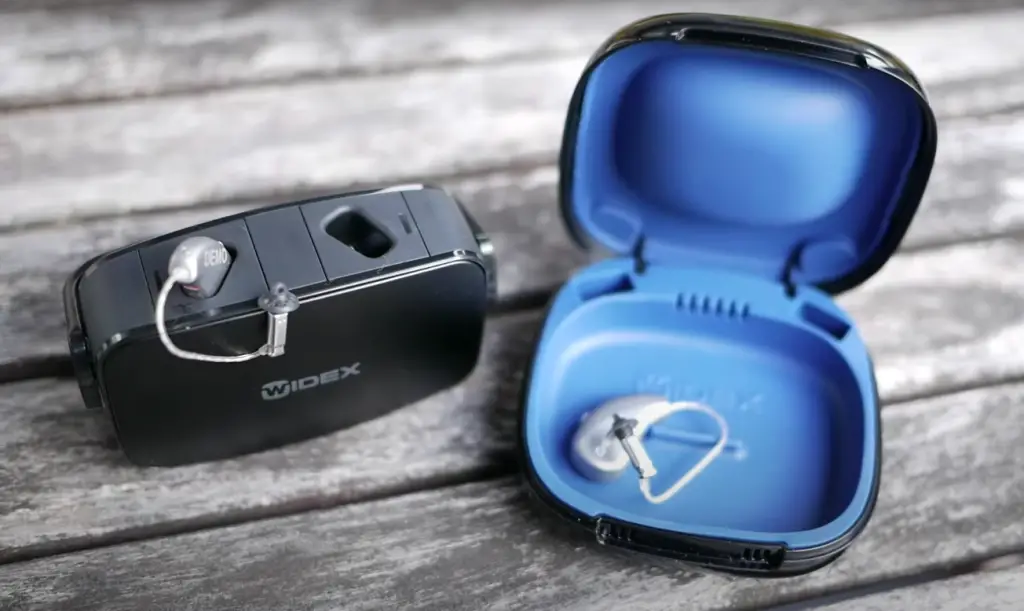
If it is a Widex Moment rechargeable one, you’ll need to press the button on the device for 6 seconds. After that, it should automatically produce a sound signal indicating it’s on. But, you may not hear this sound, especially when your hearing care professional deactivated this function.
If it’s still not connected, charge it for 10 seconds or until it flashes green and press the button again.
The battery Door Is Completely Closed
Widex hearing aids might fail to work correctly when the battery door isn’t completely closed. Usually, problems with closing the door arise when the batteries aren’t perfectly in their place. For instance, you might have placed them upside down.
How To Correctly Close the Battery Door
So, try removing the batteries, flipping them out, and reinserting them correctly. Then, your door should close entirely, and you can turn on your hearing aid.
Try Different Hearing Aid Programs
Widex offers various hearing aid programs for your device, so if one refuses to work, you can quickly switch to another one. Each program has its use, and choosing one that suits your needs is crucial. For instance, the Universal program is usually for everyday use.
Some users prefer to have a single default hearing program. But your hearing professional healthcare provider may add other programs to use in challenging environments. They are usually explained during the first fitting visit.
You choose either of the following hearing aid programs:
The T Program
This program allows you to listen through the hearing aid’s telecoil, giving you direct sound without any background noise. But you must have a tile loop system to enjoy it.
The M+T Program
This program combines the hearing aid’s telecoil and the microphone. So, you’ll get the sound source and other background sounds.
The Zen Program
This program plays tones of voices for a relaxing background sound.
The Phone Program
This program only listens to phone conversations.
You should also understand that your hearing aid can only have one program. So, your care professional assesses your hearing loss and activates the audibility extender feature. Therefore, visiting your care provider for advice and help in changing the program is crucial.
How To Change a Hearing Aid Program
First, press and hold the top button for a second before letting it go. You may need to do it a few times before meeting the correct timing. Your hearing aid should beep a few times depending on the accessed program.
Your hearing aid may lower or increase the volume as a safety precaution. However, if you constantly have to adjust the volume, visit your care provider for advice.
You may also need to reset it to complete the Widex hearing aid program change.
Conclusion
Now that you have different Widex Hearing aid troubleshooting tips, it’s up to you to ensure your device works perfectly.
You can do other care and maintenance activities, including cleaning the sound outlet, vent, and microphone opening using the tools and brushes provided by Widex.
FAQs
Widex hearing aid users ask the following questions:
First, you’ll need to press the button on the hearing aid for 6 seconds to turn it off. Then, press the button for 6 seconds to turn it on once it’s off.
If it still doesn’t work, you’ll have to charge it for 10 seconds or until it flashes green. You can repeat this if it doesn’t work the first time.
Your hearing aid can stop working when its battery dies or if it has a minimal life left. So, the first thing you do is change its battery.
Another reason could be that the blockage in the sound port weakens the sound. This way, you’ll need to check if the wax filters appear plugged.
When your hearing aid stops working, try changing the battery. If your hearing aid is too small, its battery may also be the same and with a short lifespan.
Activating the “stock mode” should reset your hearing aid. So, press the rocker switch’s lower part for 11 seconds, then place the hearing aid in the charging case for 30 seconds or until the light indicator starts blinking.
First, ensure that your batteries are in their correct place before turning on the device. Next, you’ll notice a volume change in the sound.
Then, turn the hearing aid off and back on while still in your ear. You should hear a start-up sound.
More related content
Beats Flex Not Turning On: What To Do To Fix It
Everything you need to know about Audio Technica solid bass

