What you find on this page:
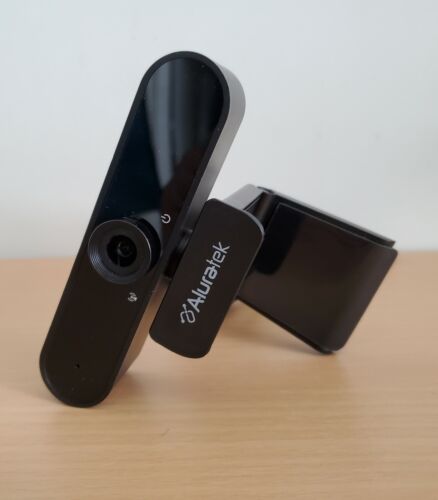
Aluratek webcams are among the best value-for-money you can get. If you cannot connect the webcam to your selected device.
There is no need to panic if you get the “Aluratek webcam not connecting” error. Keep reading to fix this issue immediately.
Aluratek Webcam Not Connecting to The Following Devices
The problem may vary depending on the device you are trying to connect to (Check also: Amazon Fire TV Wired Connection Problems). Follow these solutions:
Microphone
Microphones and webcams are an essential combo to have. The Aluratek webcams come with built-in microphones that make them a complete package. But if your webcam’s microphone, laptop’s built-in microphone, or an external microphone is not working, follow these steps below:
Using The Built-In Microphone
- Update the latest driver of your laptop or webcam, respectively
- Check the mic sensitivity in the sound setting. If it’s too low, it might be causing the issue here. Increase it and check again.
- Go to settings > Sound > Microphone. Check if the default microphone is the one you are trying to use.
- If it’s not selected as the default microphone, right-click it and click ‘Set as Default Device.’
Using an External Microphone
- Connect the external microphone to your PC/Laptop on the right port.
- A notification will pop up if your device detects the microphone. If it does not, try another port.
- Install the latest driver according to your Microphone model.
- Go to Sounds > Microphone, and check that the microphone is showing up there.
- If it’s visible right, click on it and select ‘Default Device.’
- Restart your device.
TV
Aluratek webcams can connect to your smart TVs (Learn also: How to connect a game console to a smart TV). Follow these simple steps if you have issues linking your webcam to your TV.
- Use a USB cable to connect the Aluratek webcam to your TV.
- Press the Output’ or ‘Source’ button on your TV remote.
- The webcam option should be visible in the Output menu.
- Select the option, and you should be visible now on the webcam. Adjust it accordingly.
- Follow the prompts to connect your Aluratek webcam to the internet.
The Aluratek Webcam Not Connecting and How to Set Up
Setting up the Aluratek webcams to the devices is very simple. If you are encountering issues like not connecting or want to know how to set up on different devices, follow these steps.
Using Camera On Windows
To use your Aluratek webcam on your windows devices like laptops and PCs, you first need to activate it. To do this, follow these steps:
- After the webcam is attached, Go to Windows > Settings > Privacy
- Select Camera under App Permissions
- A slider will pop up mentioning ‘Camera Access for This Device.’ Turn the slider to ON
- Turn ON the slider of “Allow Apps to Access Your Camera” as well.
If you are using a laptop with a built-in camera and want to replace it with your Aluratek, do this:
- Connect your webcam to your Windows laptop
- Go to Control Panel. Select Devices and Printers
- Your webcam should now be visible under the Devices Tab, right click and make it default
- If this does not work, Go to the Device Manager
- Double Click on Imaging Device
- Select your default Laptop camera, right click and select Disable
Using camera On macOS
Almost all macOS devices have built-in cameras that are the default for the applications. If you are trying to replace the default camera with your Aluratek webcam, follow these steps.
- Connect the webcam to your macOS device using a USB cable.
- Wait for the device to recognize your webcam
- Go to the Apps dock at the bottom of the screen and select ‘Photo Booth.’
- Select camera from the menu bar
- A list of the available cameras will pop up. Select your Aluratek webcam to make it default.
Reset your System Management Controller
System Management Controller or SMC controls many crucial functions in Mac if your macOS device is facing issues that do not seem to get fixed after trying all the solutions and tricks.
Resetting the System Management Controller may be the last resort to solve these errors, including the webcam-related issue. Initializing SMC works differently on each macOS device.
If you have an older MacBook with a removable battery, follow these steps:
- Turn off your MacBook and remove any power.
- Remove the battery from the device
- Press and Hold the Power Button for five seconds.
- Reconnect the battery and power to your MacBook.
- The SMC of your MacBook is now reset
If you have a newer model of MacBook that does not have removable batteries, follow these steps to activate SMC.
- Unplug the power, and turn off your MacBook
- Press and Hold the left Shift, Control, and Option keys, then press and hold the power button.
- Hold all these buttons for 10 seconds. Release the button and plug the power cable back into your MacBook
- Turn on the device. The SMC has now been reset.
Update Your Camera Driver
Updating your Aluratek webcams can resolve most of the issues. The older version of windows does not support auto-updating to the latest version of drivers. You have to do it manually.
Here is how you can update your webcam drivers:
- Connect your Aluratek webcam to your PC
- Go to device manager
- Click on Imaging devices to expand. Your webcam should be visible now
- Right-click on your webcam and select Update Driver
- Now click on ‘Search automatically for updated driver software. It will let your PC find relevant drivers online and install them automatically.
If you have the driver installed already, reinstalling them might fix the non-connectivity issue. To reinstall the driver
- Select your webcam from the Imaging Devices in Device Manager
- Right-click on the webcam, and click uninstall. A window will pop up. Click Uninstall again
- After its done, Go to the Actions Tab in the menu bar
- Click Scan for hardware changes, and restart your PC.
Stop Other Apps From Using Your Camera
You can encounter an error that says, “Another device is using your Aluratek webcam.” Follow these steps to fix this issue and prevent other apps from using your webcam.
If you want all the apps to stop using, your camera:
- Go to settings, Click on Privacy, and then Camera
- You can toggle it t off, so all of the applications will not be using your camera
If you want, only the selected apps can use your camera:
- Go to settings, Click on Privacy, and then Camera
- Scroll down, and the list of available apps that are using your camera will be shown
- Toggle Off the apps that you don’t want to use your camera. Leave the Toggle ON for the apps you like and continue using your camera.
You must reinstall the camera drivers if this does not fix the issue.
- To reinstall, Go to Device Manager.
- Right Click on your webcam and select Uninstall.
- Click Scan for Hardware Changes in the Action Menu.
- Restart Your PC
It will make your webcam’s app permission to default. You can now manually give permissions to your selected apps after installing the webcam drivers (if required).
Give Your Video Conferencing Apps Camera Permissions
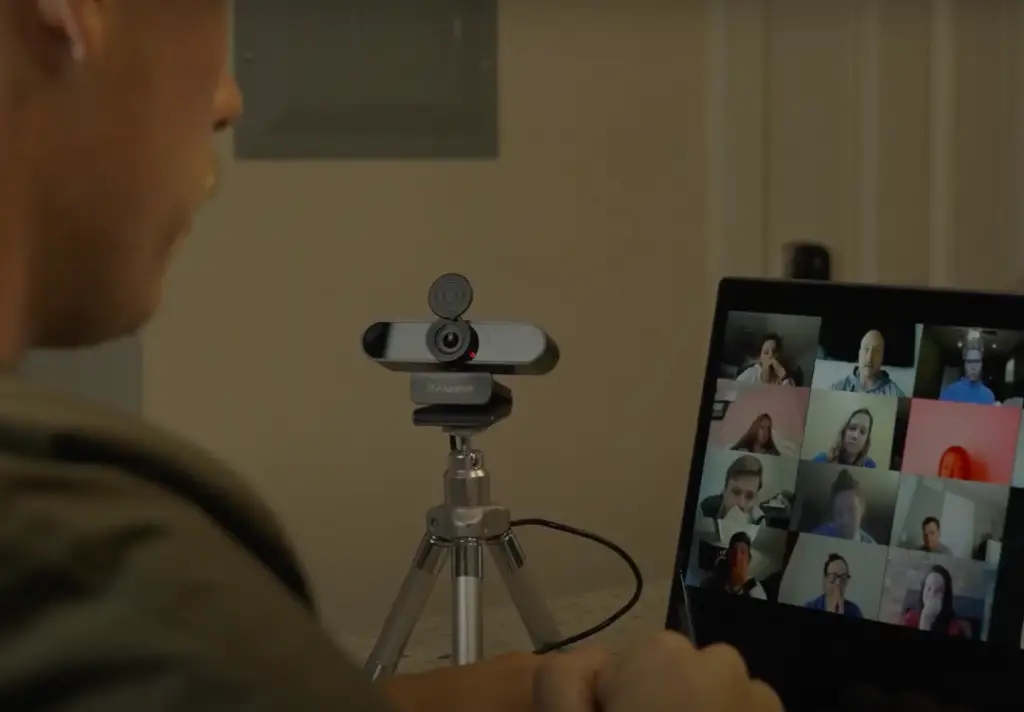
Video conferencing apps’ popularity skyrocketed during and after Covid-19. Many organizations prefer online video conferences rather than physical ones. Popular video conference apps like Skype, Zoom, and Google Meet may require permission to use your webcam.
If you are using these video conferences apps on your Windows, follow these steps to give permission:
- Settings > Privacy > Camera
- Toggle on all the video conference apps you want your webcam to use.
- A popup will show for permission if you use any online video conference app in a browser. Allow it so it can use your webcam.
To use your Aluratek webcam on a macOS device, follow these simple steps:
- Open the Facetime app from the Dock.
- Click on the Video and select your Aluratek Webcam from the list.
To use the Aluratek webcam on Skype on a macOS device:
- Open Skype, and go to preferences.
- Go to the Audio & Video Section and select your camera.
To use the Aluratek webcam on Zoom in a macOS device:
- Run the Zoom app, and go to preferences.
- Click on Video. From the camera drop-down, pick your Aluratek webcam.
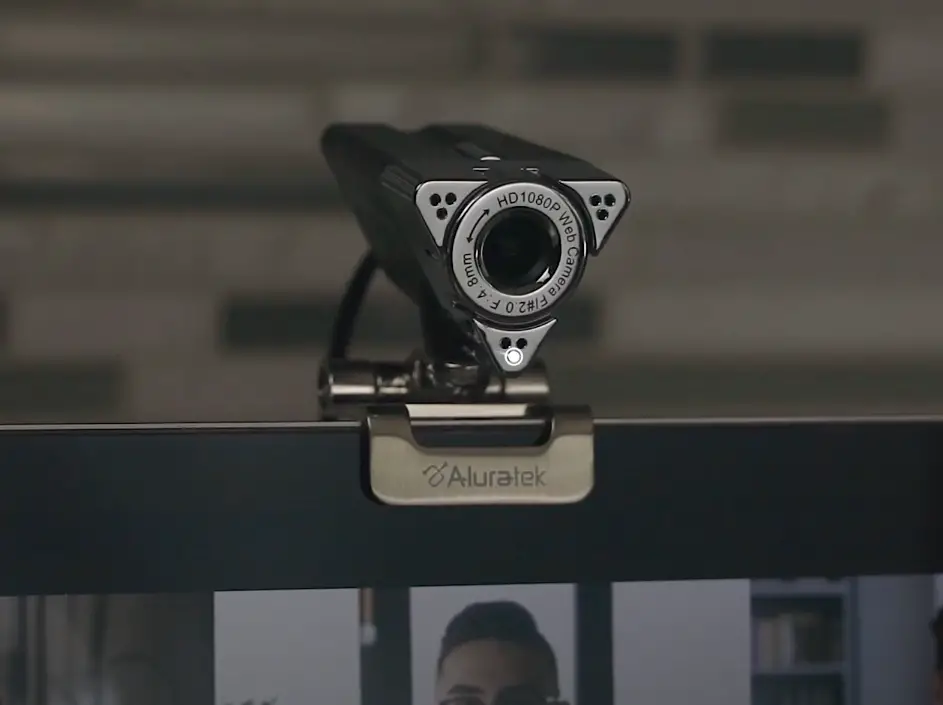
The Aluratek 1080p HD webcam blurry
If your Aluratek webcam is getting blurry, it can be due to one of the following issues. Follow the steps to fix this issue:
- Check for any dirt or dust blockage. If there is, clean it gently with a soft fabric.
- Turn your Aluratek lens gradually, which is located on the front either clockwise or anti-clockwise to adjust the Focus.
The Aluratek Webcam is Not Connecting to the PC
The webcam not connecting to your pc might happen due to different reasons. The good thing is you can quickly resolve this issue by following these simple steps:
- Make sure access is given to the camera. To verify this, Press the Window button > Go to Privacy > Scroll down the left slider and select Camera under App permissions.
- Ensure that the “Allow App Access To Your Camera” is turned on
- Now go to Device Manager. By either right-clicking your PC icon and selecting ‘Manage or opening the run box and typing “devmgmt.msc” and clicking OK
- Under the Camera section, select your webcam model and “Update Driver.”
- If it does not fix the issue, after right-clicking your camera model, select “Uninstall Device.”
- Restart your PC.
The Aluratek Webcam is Not Connecting to Mac
Setting an external webcam on your Mac can be tricky. However, many users want to improve their camera quality, or for the older model, it becomes necessary to use an external camera. Here is how you can connect your Aluratek webcam to your Mac.
- Connect the webcam to your Mac using the port.
- If the camera does not support the required port, use adapters like Thunderbolt 3/4 or USB-C port on your Mac.
- Wait for 10 to 15 minutes for your Mac to detect the webcam.
Once the camera is detected, you need to set up the webcam as default on the apps you want to use it for. These are some typical apps that people use with an external camera.
- FaceTime. Use your Aluratek webcam to make the default Apple video call application. Select Video from the menu bar and choose your Aluratek webcam
- Photo Booth: For making Photo Booth use the external webcam, Click camera from the menu and select the Alurtaek webcam
- QuickTime Player. To use your external webcam in QuickTime player, Go to Choose File, New Movie Recording. Select the options menu and select your external webcam
- Head Pointer: Select Apple Menu, System Preferences, Select Accessibility and then Pointer control and choose Alternate Control Methods. Click on Camera Options and select your Aluratek webcam.
The Aluratek Webcam is Not Being Detected
If your PC is not detecting your Aluratek webcam, follow these steps so it can start working.
- Disconnect the camera from the computer and plug it back again. If it does not work, try restarting the PC while the camera is unplugged.
- Make sure the Aluratek is selected as your default camera. Go to Camera settings by searching it in the Start menu. Set your Aluratek as the default camera and select all apps or apps of your choice to let your camera be used.
- Make sure your PC has the latest drivers to support the webcam.
- Use a different USB port to connect the webcam if the issue persists.
Conclusion
Webcam issues like “Aluratek webcam not connecting” can occur. But the good thing is you can easily fix this problem.
The issue can happen due to a faulty cable, lack of supporting drivers, or permission not being allowed. To fix it, replace the cable, install the latest webcam version and give permissions to the app you want your webcam to use. Contact us if you think you need further assistance.
FAQs
Connect your Aluratek webcam to the Mac with a USB cable. Go to FaceTime > Aluratek > And select your webcam to use it as default.
Using Aluratek webcams is pretty simple. You are good to go by connecting your device to the webcam with a USB cable.
Yes, the Aluratek webcams come with built-in microphones.
Connect the Aluratek webcam with your device, and install the latest driver if needed. Turn your Aluratek webcam lens slowly until the image is properly focused.
More content related
Aluratek Digital Photo Frame Troubleshooting: The Definitive Guide
Amcrest Camera Not Connecting to Wi-Fi: This Is What You Need To Do


